Cartoon portrait
A familiar face, a different way to show it. Cartoon portrait turns a photo into a stylized illustration for an avatar, a personal profile or a creative portrait. Choose the framing and one of eight visual styles, then add a short prompt to guide the result.
One photo, a new illustrated look
This example starts with a woman wearing a straw hat and a striped shirt. With Portrait framing and Soft 3D, the result moves closer to the face, with larger illustrated eyes, smooth shading and a softly painted green background.
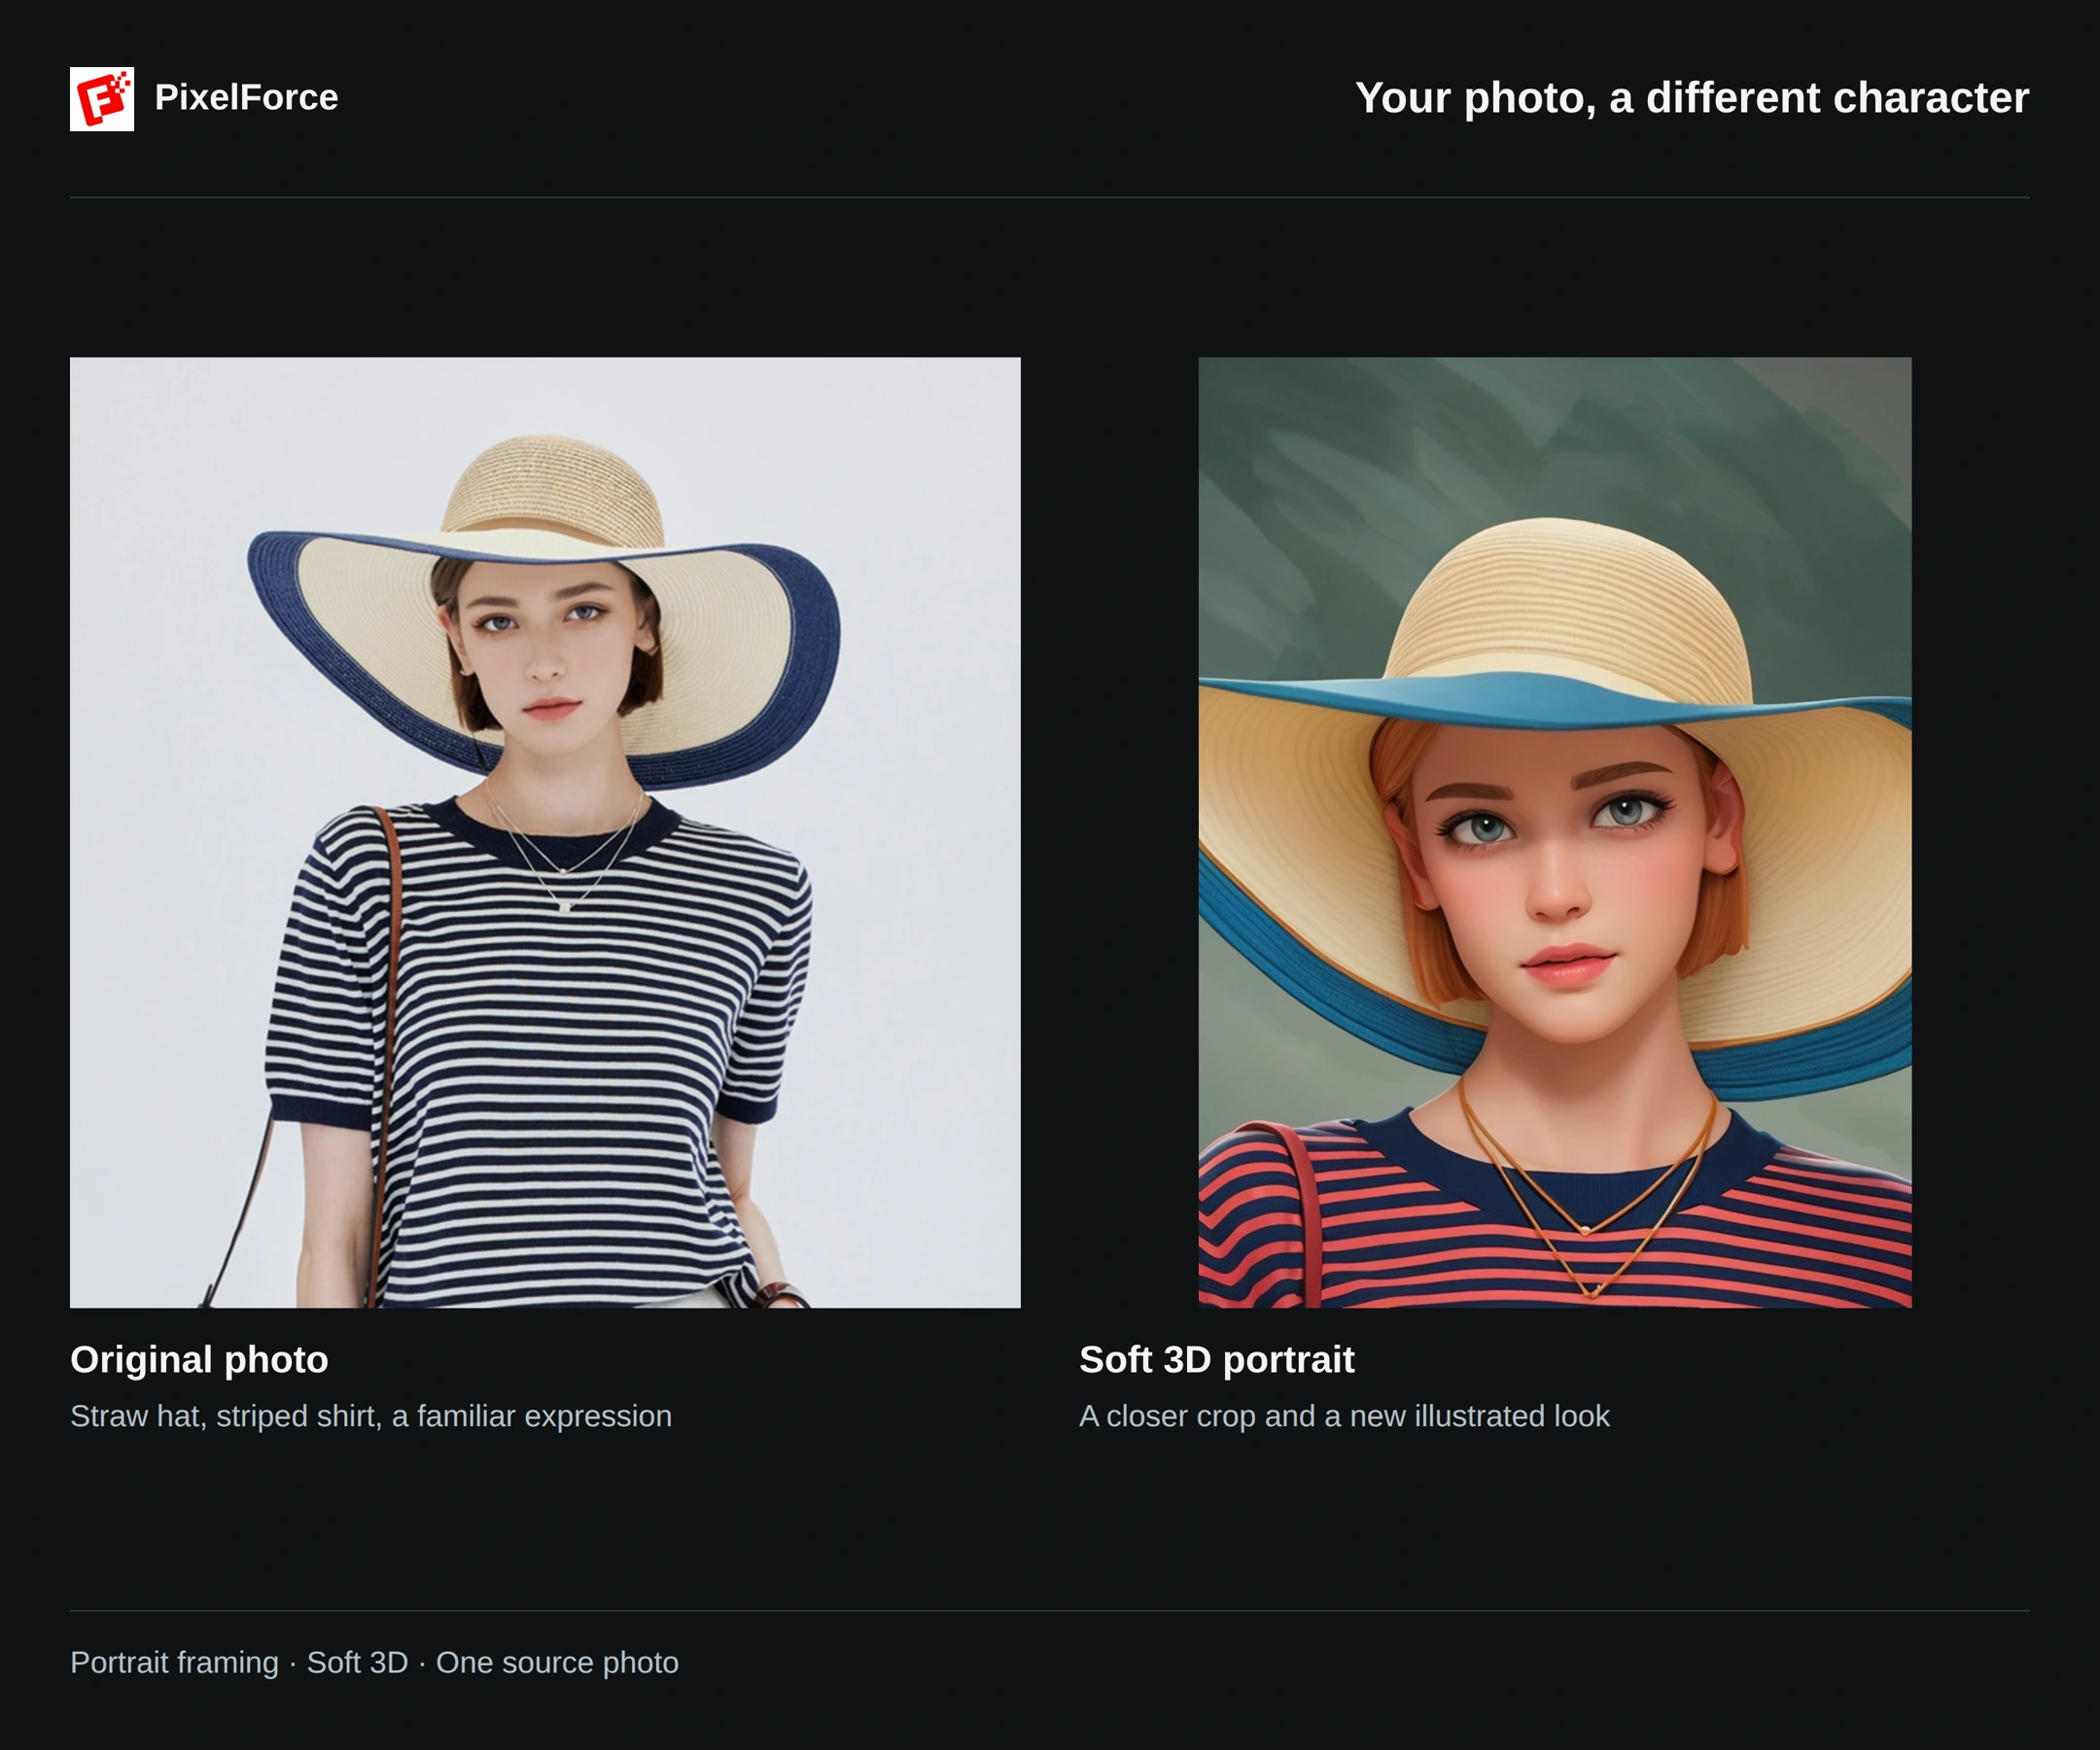
The hat, short hair and striped-shirt idea carry through, but their treatment changes. In this result, the hat trim and shirt colors are reinterpreted, and the background is different. This is a creative transformation, not an exact clothing, product-color or identity-preservation workflow. Judge both the character of the image and the details that matter to you.
Make your cartoon portrait
1. Start with a clear photo
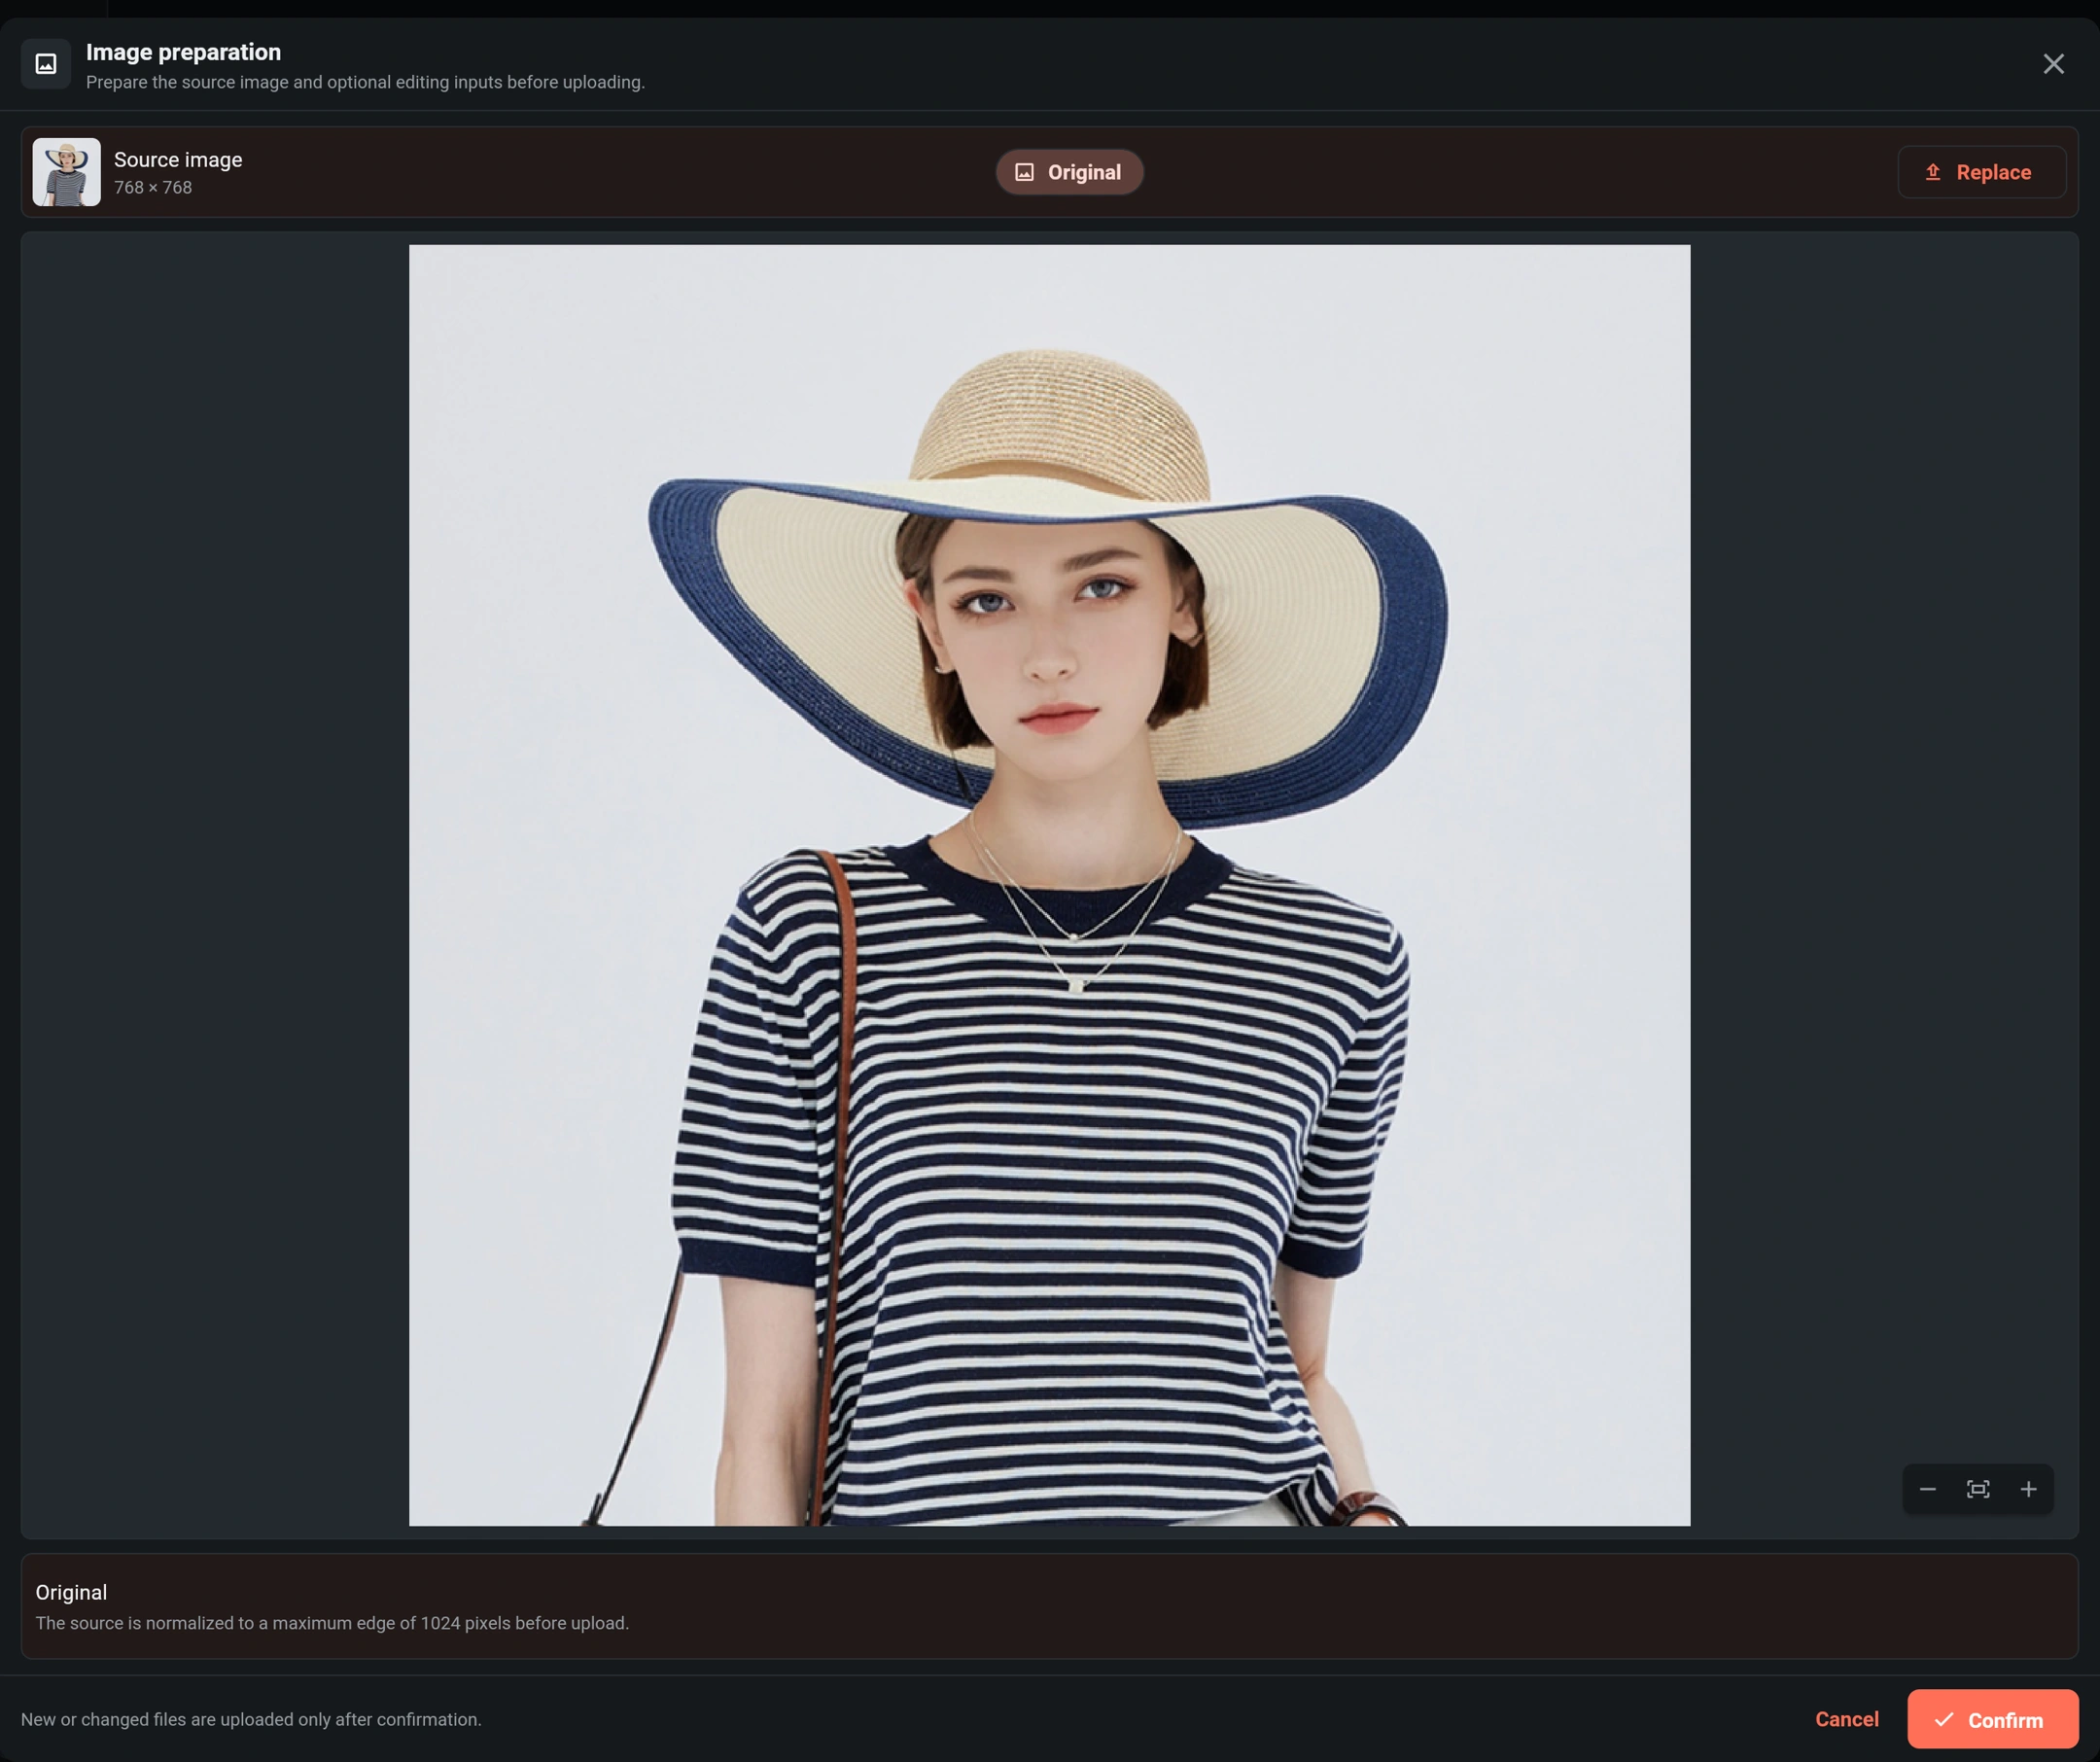
Open Cartoon portrait from Create or Explore and add your source image. A clear view of one person is a useful starting point: make sure the eyes, face outline and distinctive accessories are visible. Avoid heavy blur, deep shadows over the face or objects that hide important features.
Use Edit inputs to review the photo and its crop. On Android and iOS, you can choose a photo, take one with the camera or browse files. Keep enough of the original for the framing you plan to use.
2. Choose framing and one style
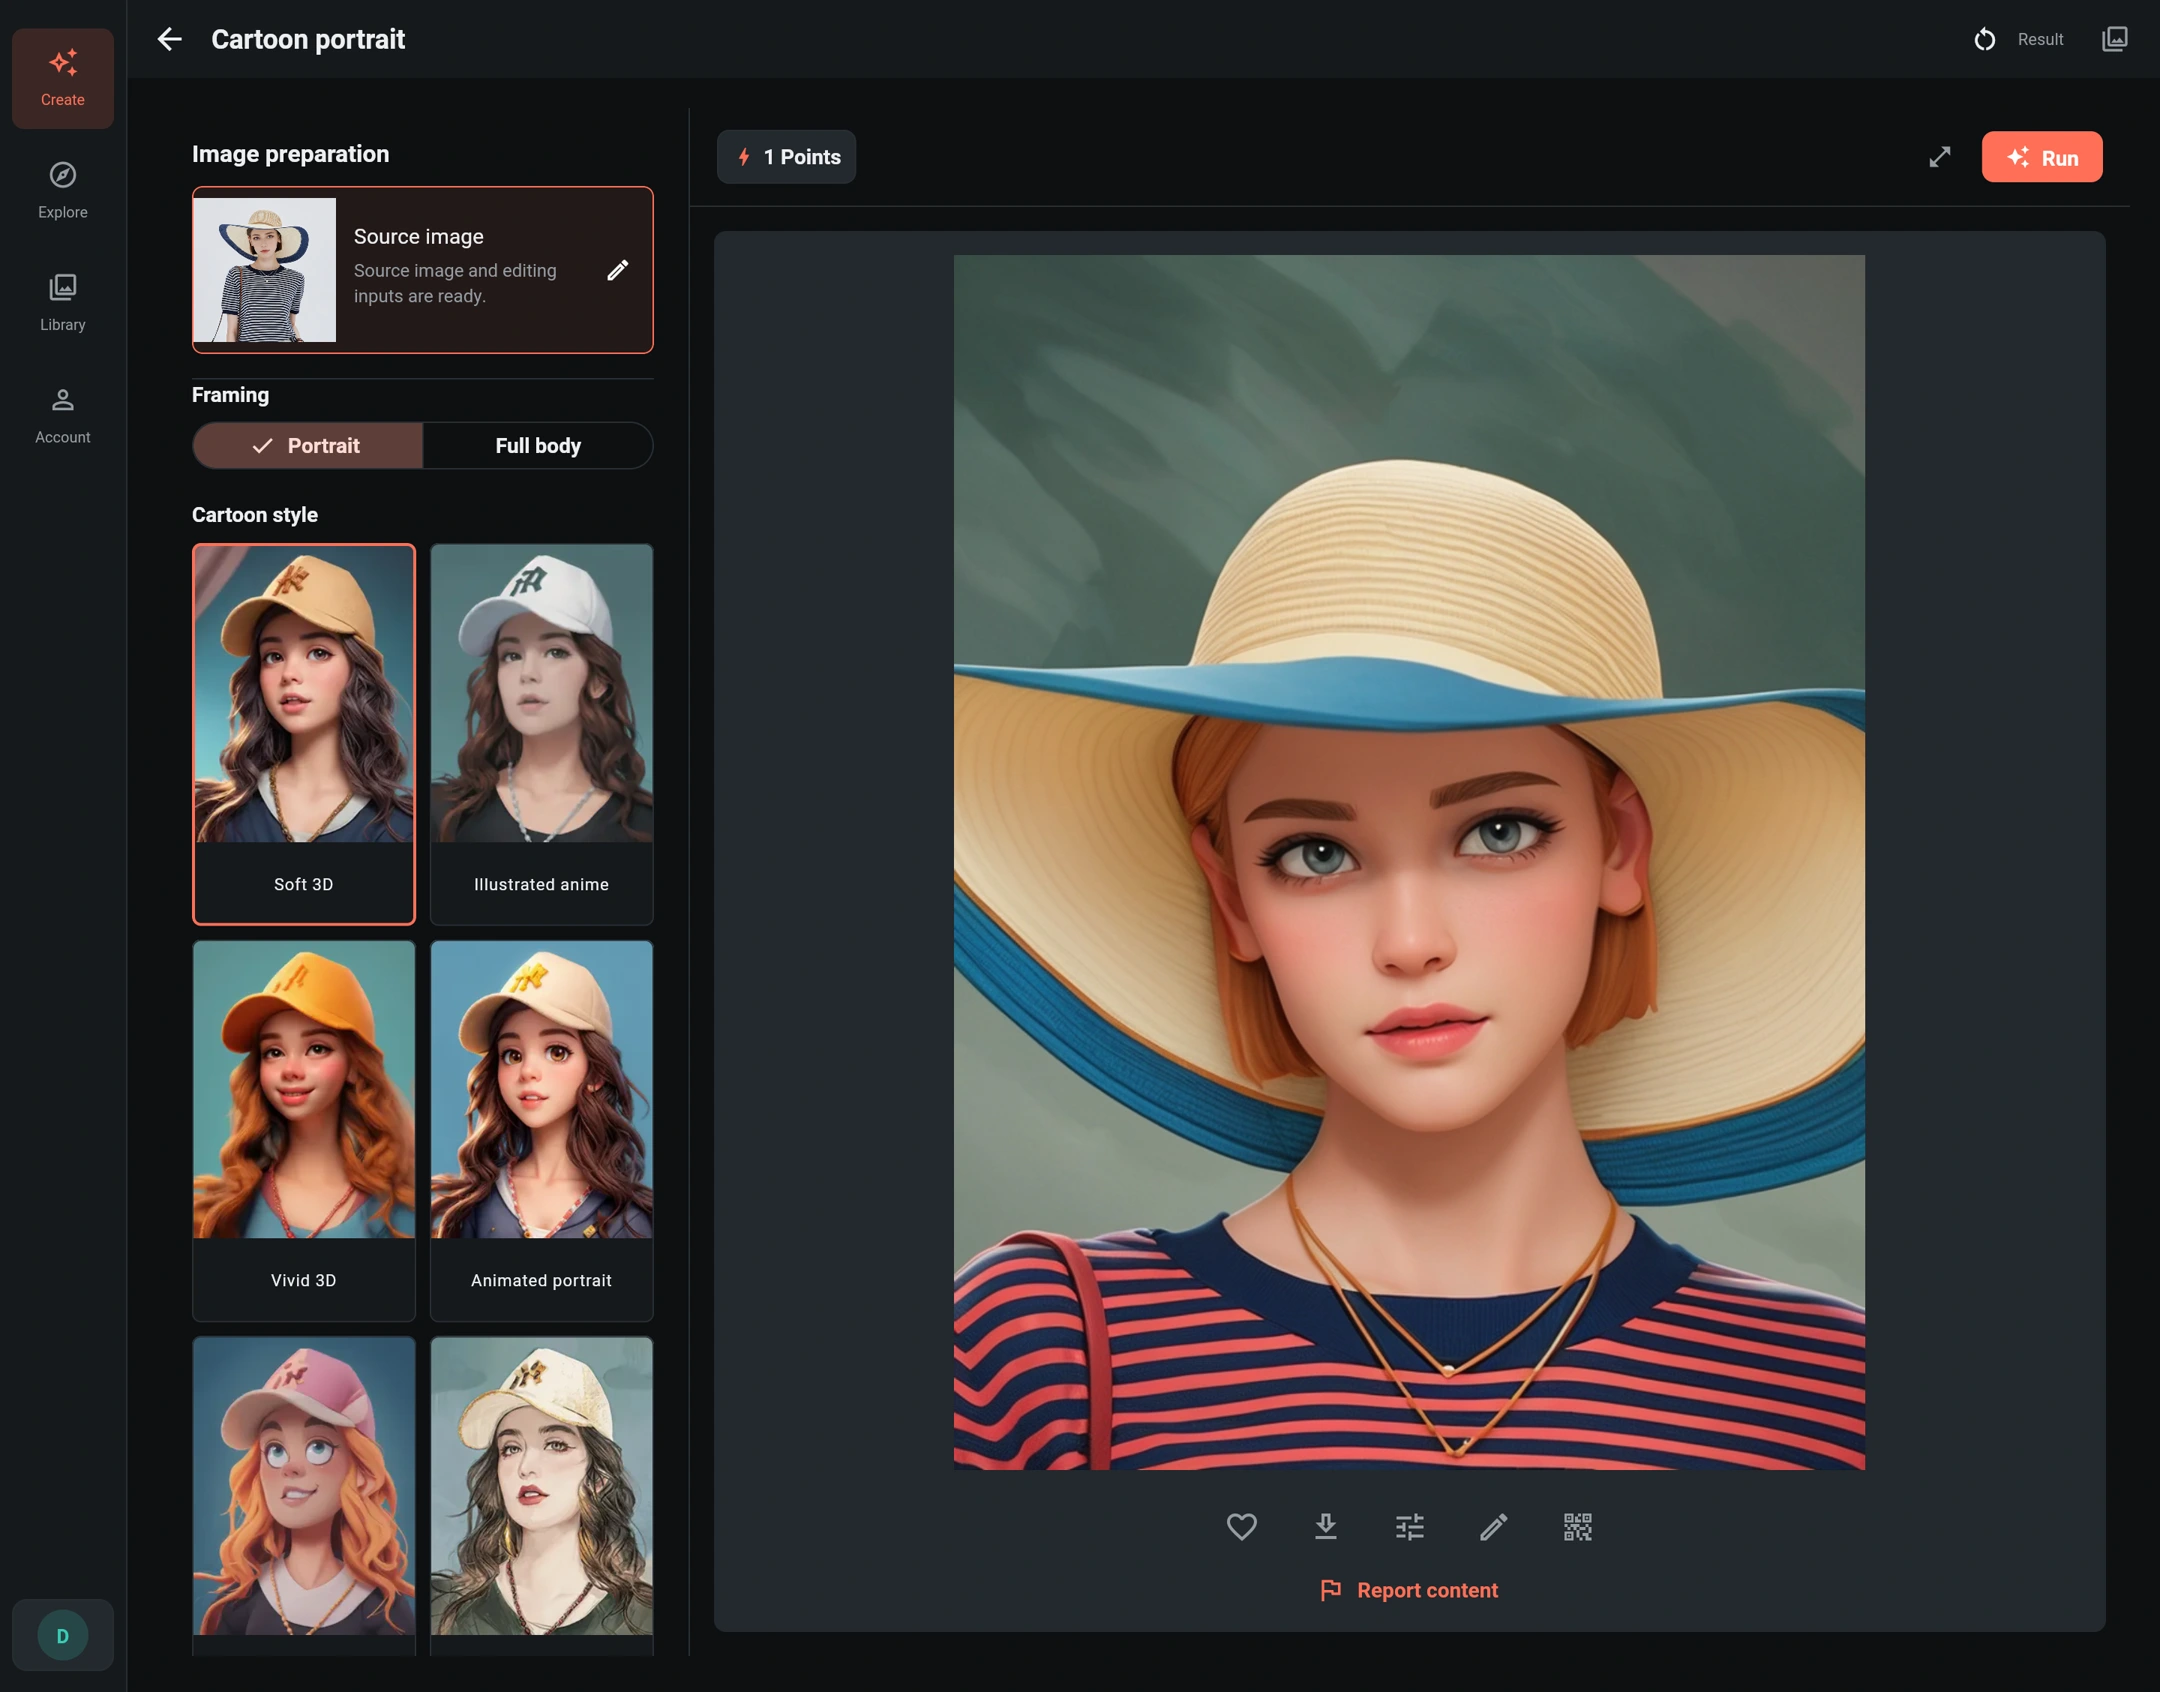
Under Framing, choose Portrait for an avatar or a closer, face-led composition. Choose Full body when you want the character's pose and outfit to be part of the image. For a full-body result, start with a photo that actually shows the body: a tight headshot cannot supply accurate details of clothing or limbs that were never visible.
In Cartoon style, select one thumbnail. The accent border marks the selected style; choosing another replaces it rather than combining two styles. This example uses Soft 3D, the first style.
| Style | A direction to explore |
|---|---|
| Soft 3D | Smooth shading and a softly modeled, dimensional face. |
| Illustrated anime | An anime-inspired illustrated character. |
| Vivid 3D | A more vivid, dimensional cartoon treatment. |
| Animated portrait | An animated-character look centered on the face. |
| Playful cartoon | A more playful, expressive interpretation. |
| Painterly sketch | Drawn textures and a sketch-like finish. |
| Soft animation | A gentler animated illustration. |
| Comic art | A graphic, comic-inspired treatment. |
Scroll to see the remaining styles and the prompt field. The thumbnails suggest an artistic direction, not a promise to reproduce their pose, colors or background in your image.
3. Add a focused prompt
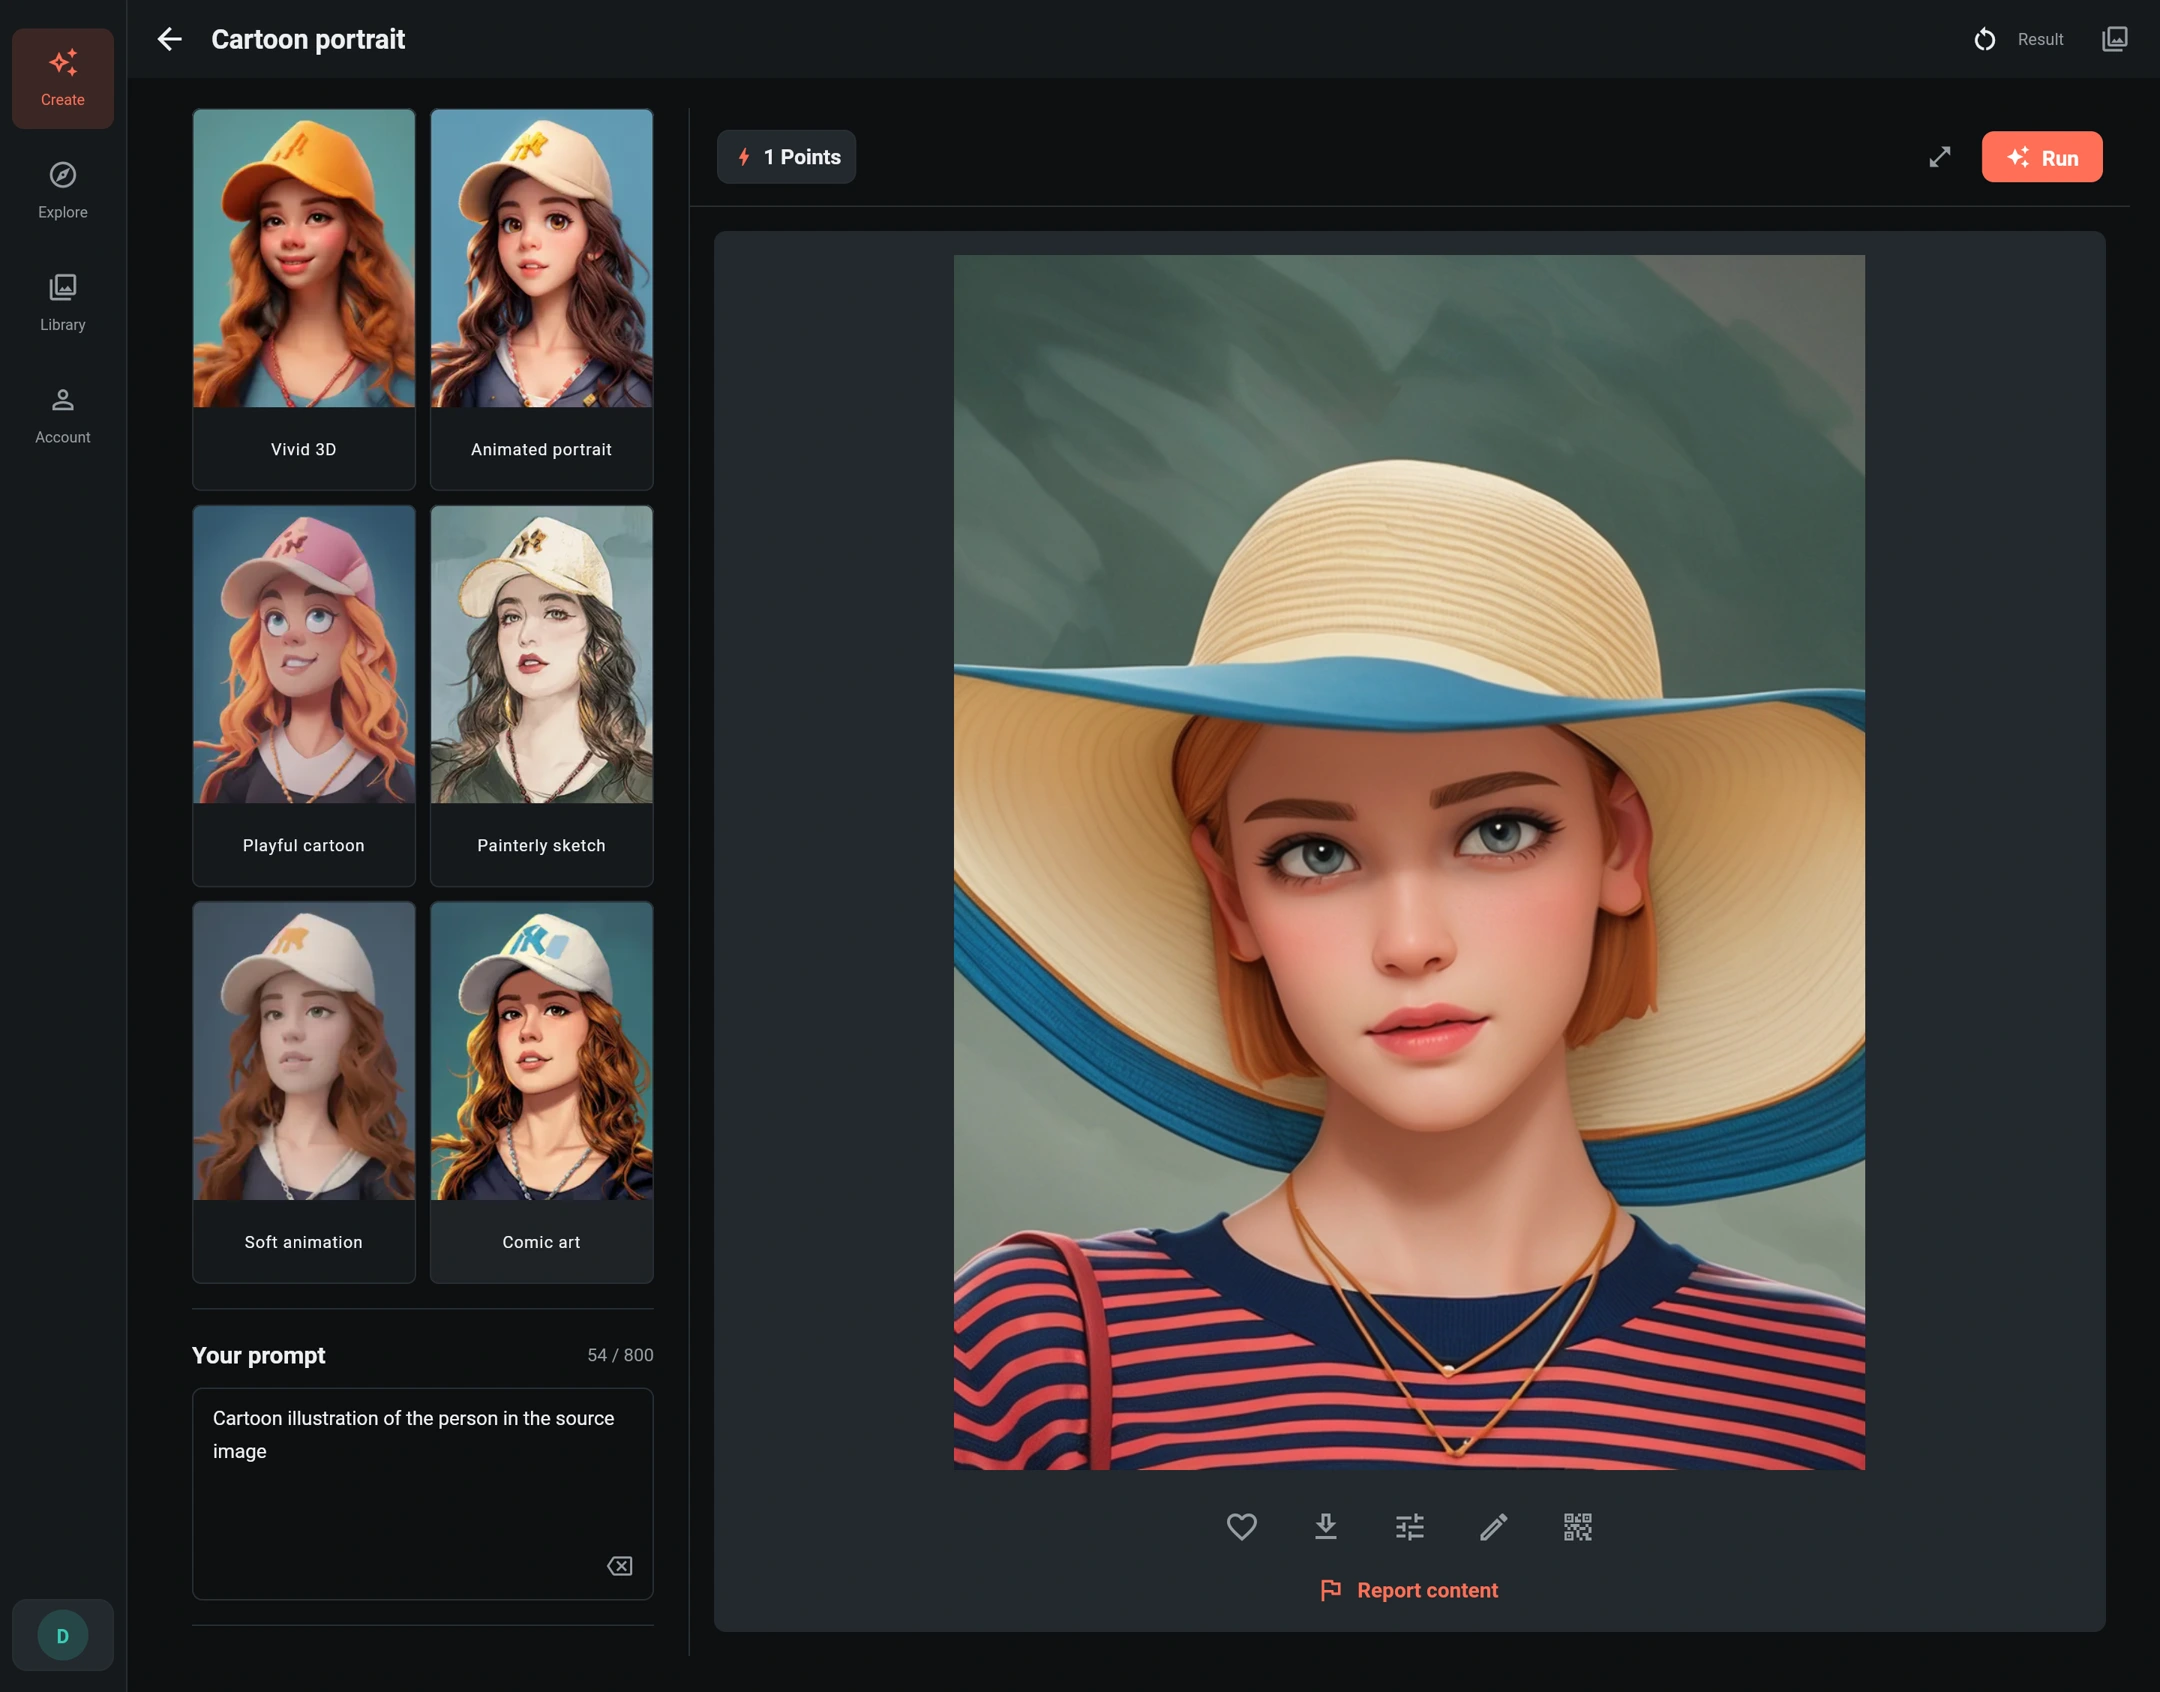
You do not need a long description to start. This is the exact prompt used in the example:
Cartoon illustration of the person in the source image
Let the selected style establish the visual direction. If a feature matters, mention it briefly, such as the straw hat or short hair. Avoid asking for several conflicting styles at once. A preservation instruction can help communicate intent, but it does not guarantee that every detail will survive the stylization.
4. Generate and inspect the result
Review the source, framing, selected style, prompt and current points quote, then choose Run. The standard creation flow requests one image. Wait for that task to finish before starting another variation.
Open the image in Result and compare it with the original. Look at the expression, hair, hat shape and accessories as well as the overall style. Check eyes, hands if visible, jewelry and the edges of the face for unwanted changes.
Refine the character, one change at a time
- Not enough resemblance? Try a clearer, more front-facing source and a less exaggerated style. Check whether a hat, glasses or shadows obscure the features.
- The crop feels too tight? Review the source in image preparation. Use Full body only when the source supplies enough body and outfit information.
- The style is not right? Keep the same photo and framing, then change just the style. Each new generation is a separate task with its own quote.
- Colors or clothing must be exact? Do not treat a cartoon result as a faithful product image. Stylization can change palette, pattern, proportions and materials.
In Library, choose Reuse settings to bring the saved inputs back into the creation form. Review them before generating again; reuse does not automatically submit a task or guarantee an identical image.
Finish and save
Use Image Editor for a final avatar crop or text, and AI Retouch for further AI-guided edits. Save the image you want to keep rather than relying only on the 30-day cloud history. See results and saving for the available actions.
Use photos you own or have permission to edit and share. Before publishing a cartoon of someone else, make sure you have the appropriate permission and do not present an illustration as an unedited photograph.