ID photo
Start with a clear portrait and use ID photo to prepare a consistent crop and background. This example takes a gray-background portrait and produces a sheet of blue-background photos, ready for you to check before printing.
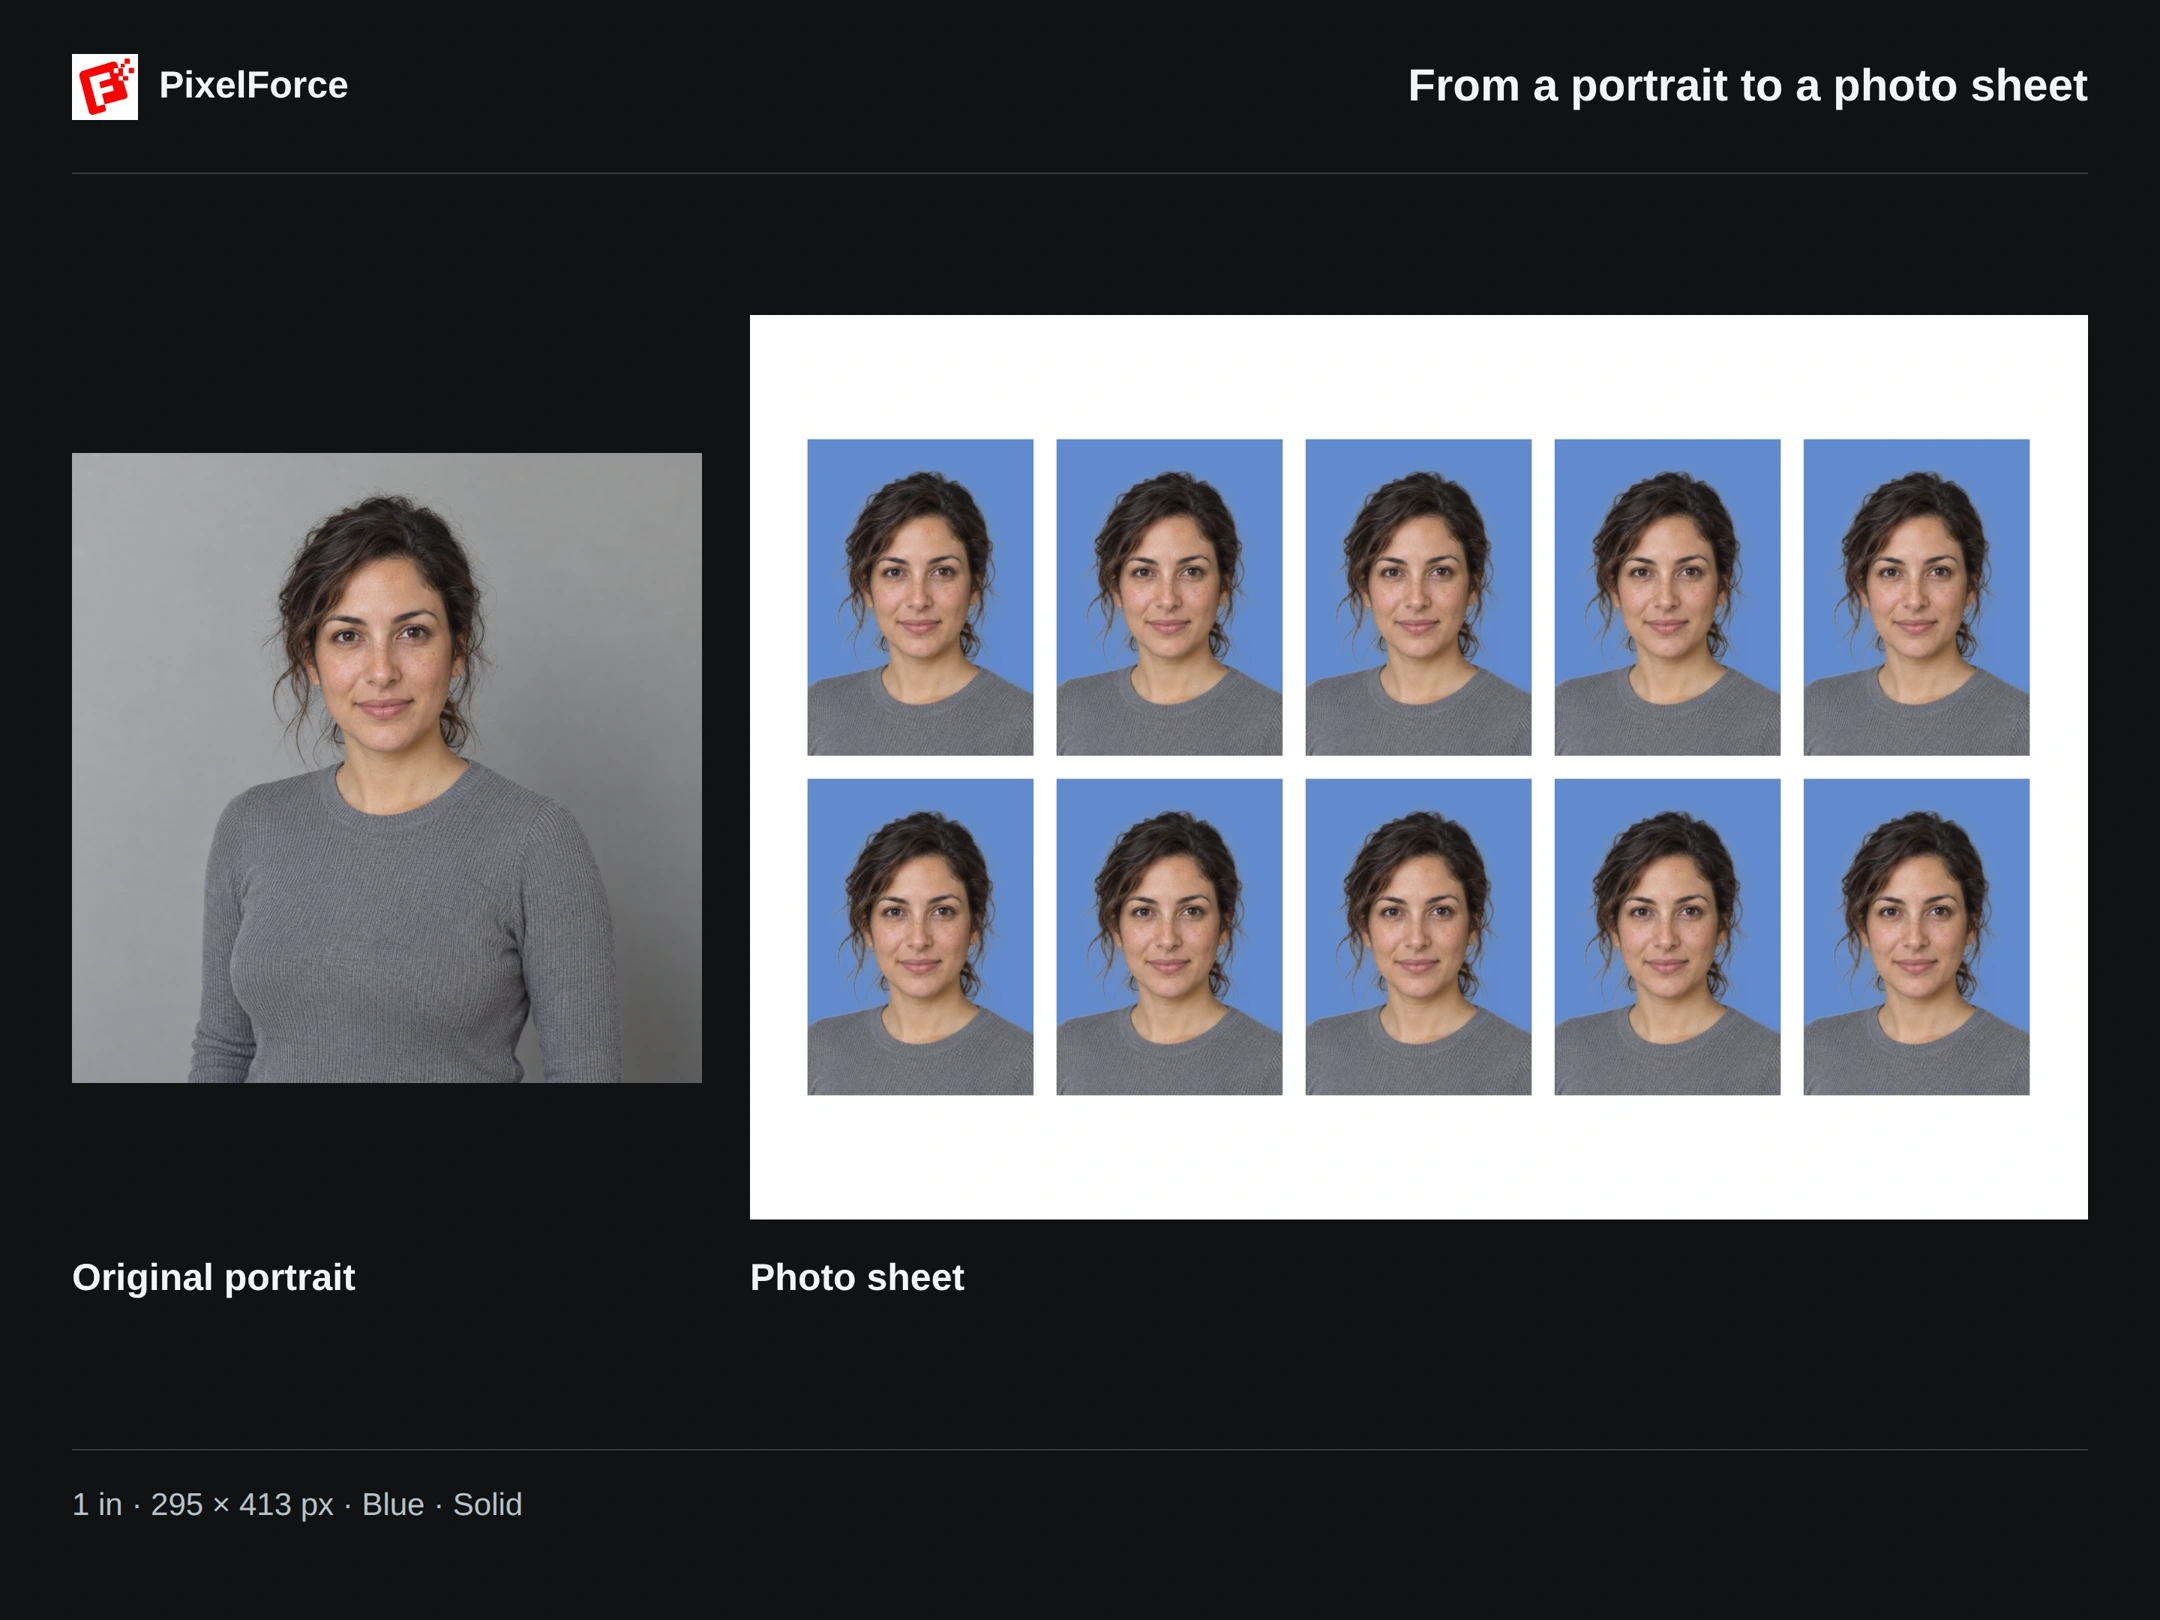
The settings in this example
| Setting | Selected value |
|---|---|
| Photo size | 1 in · 295 × 413 px |
| Background color | Blue |
| Background rendering | Solid |
The result is one image containing ten copies, arranged in two rows of five. It is not ten separate generations. The selected size describes each photo, not the dimensions of the whole sheet.
A size preset does not guarantee acceptance. Check whether the receiving organization permits background replacement or AI processing, as well as its rules for dimensions, framing and expression. Some applications require an unedited original; see, for example, the U.S. passport guidance and UK passport guidance.
Make your photo
1. Add a clear portrait
Open ID photo from Create or Explore and add your photo. On a phone, choose from your photo library, take a picture or browse files; on the Web, select an image from your computer.
Use a sharply focused, front-facing photo with the whole head visible and some space above the hair and around the shoulders. Aim for even lighting and an unobstructed face. A heavily filtered image, tilted head or very tight crop is a poor starting point.
Use Edit inputs to inspect the source. Leave enough room for the final crop; changing the background cannot recover hair or shoulders already missing from the original.
2. Choose the photo size
Under Photo size, select 1 in · 295 × 413 to follow this example. Open More sizes for the other presets.
| Preset | Width × height in pixels |
|---|---|
| 1 in | 295 × 413 |
| S 1 in | 260 × 378 |
| L 1 in | 390 × 567 |
| S 2 in | 413 × 531 |
| 2 in | 413 × 626 |
| 1:1 | 600 × 600 |
| 5 in | 1050 × 1499 |
These are the names shown in the app, not universal document standards. Choose by the required dimensions rather than the preset name alone. Common size references offers additional context; it does not certify compliance.
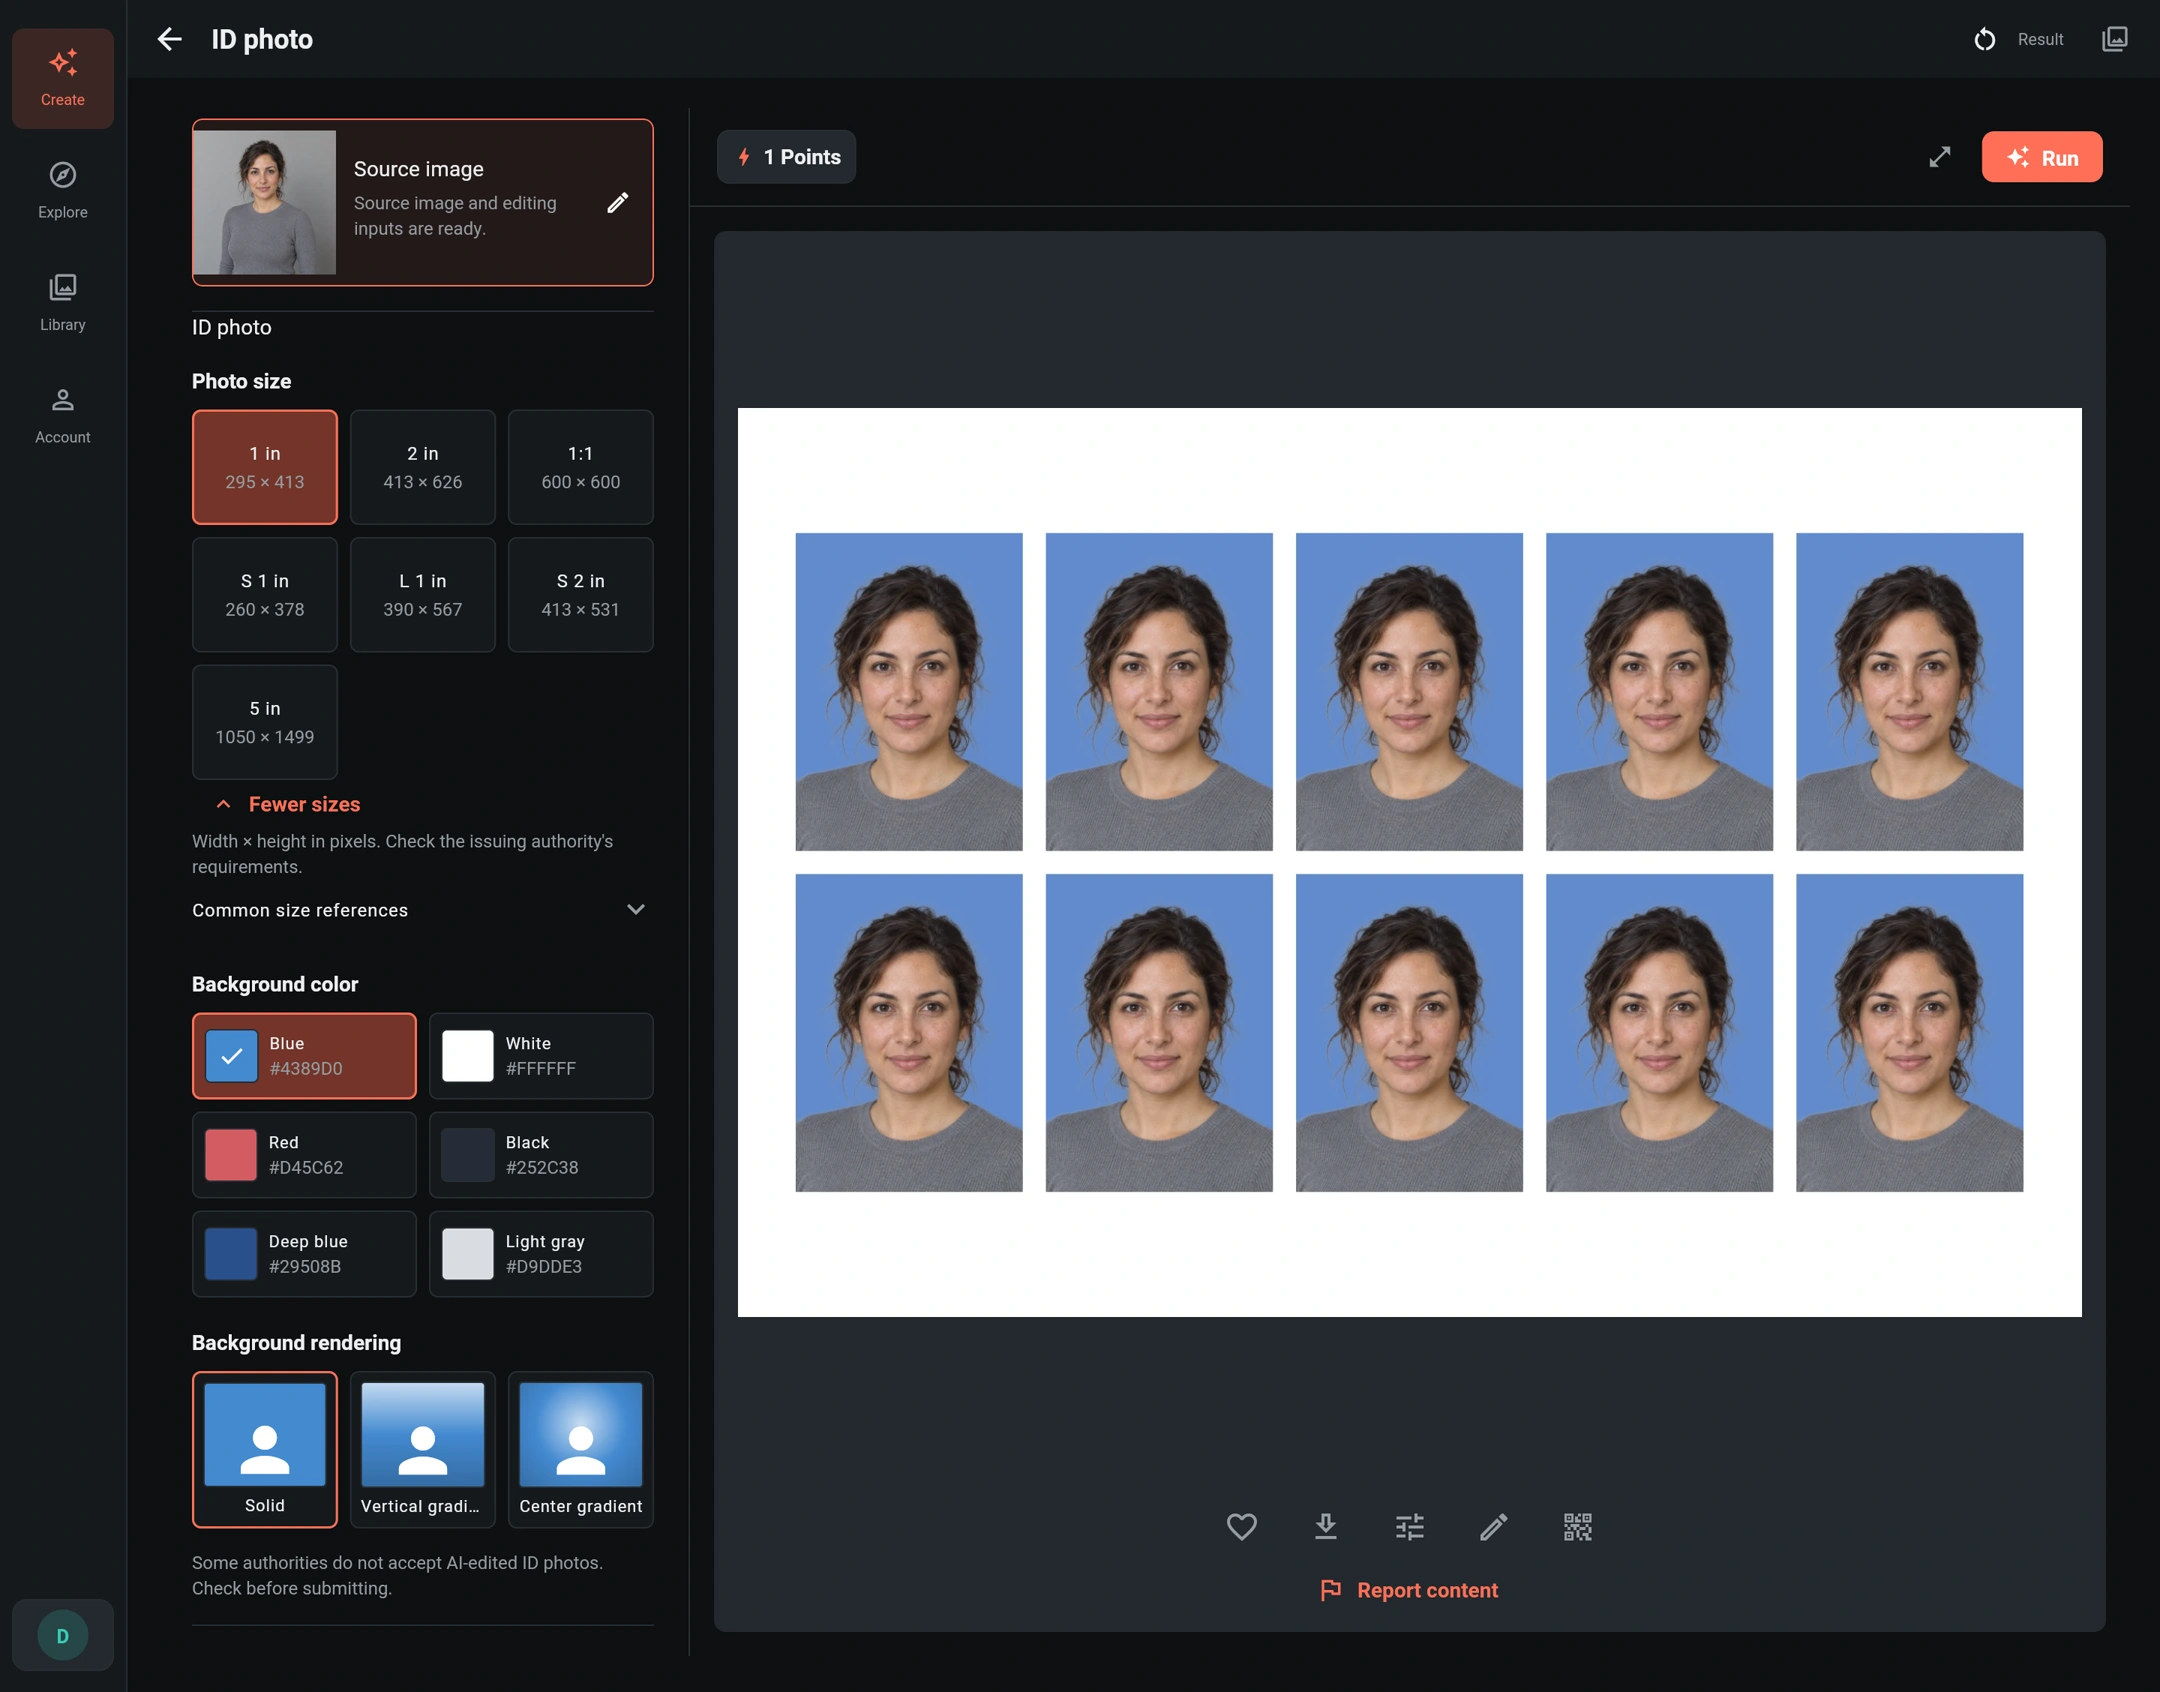
3. Set the background
In Background color, choose Blue for this example. You can also choose White, Red, Black, Deep blue or Light gray.
Under Background rendering, select the finish:
- Solid: a uniform background, as used here.
- Vertical gradient: a background that changes tone from top to bottom.
- Center gradient: a lighter central area that changes tone toward the edges.
For a submission that requires a uniform background, use Solid in the specified color. Gradients are an option for uses that allow them, not a shortcut to meeting official photo rules. This workflow uses these controls; you do not need to write a prompt.
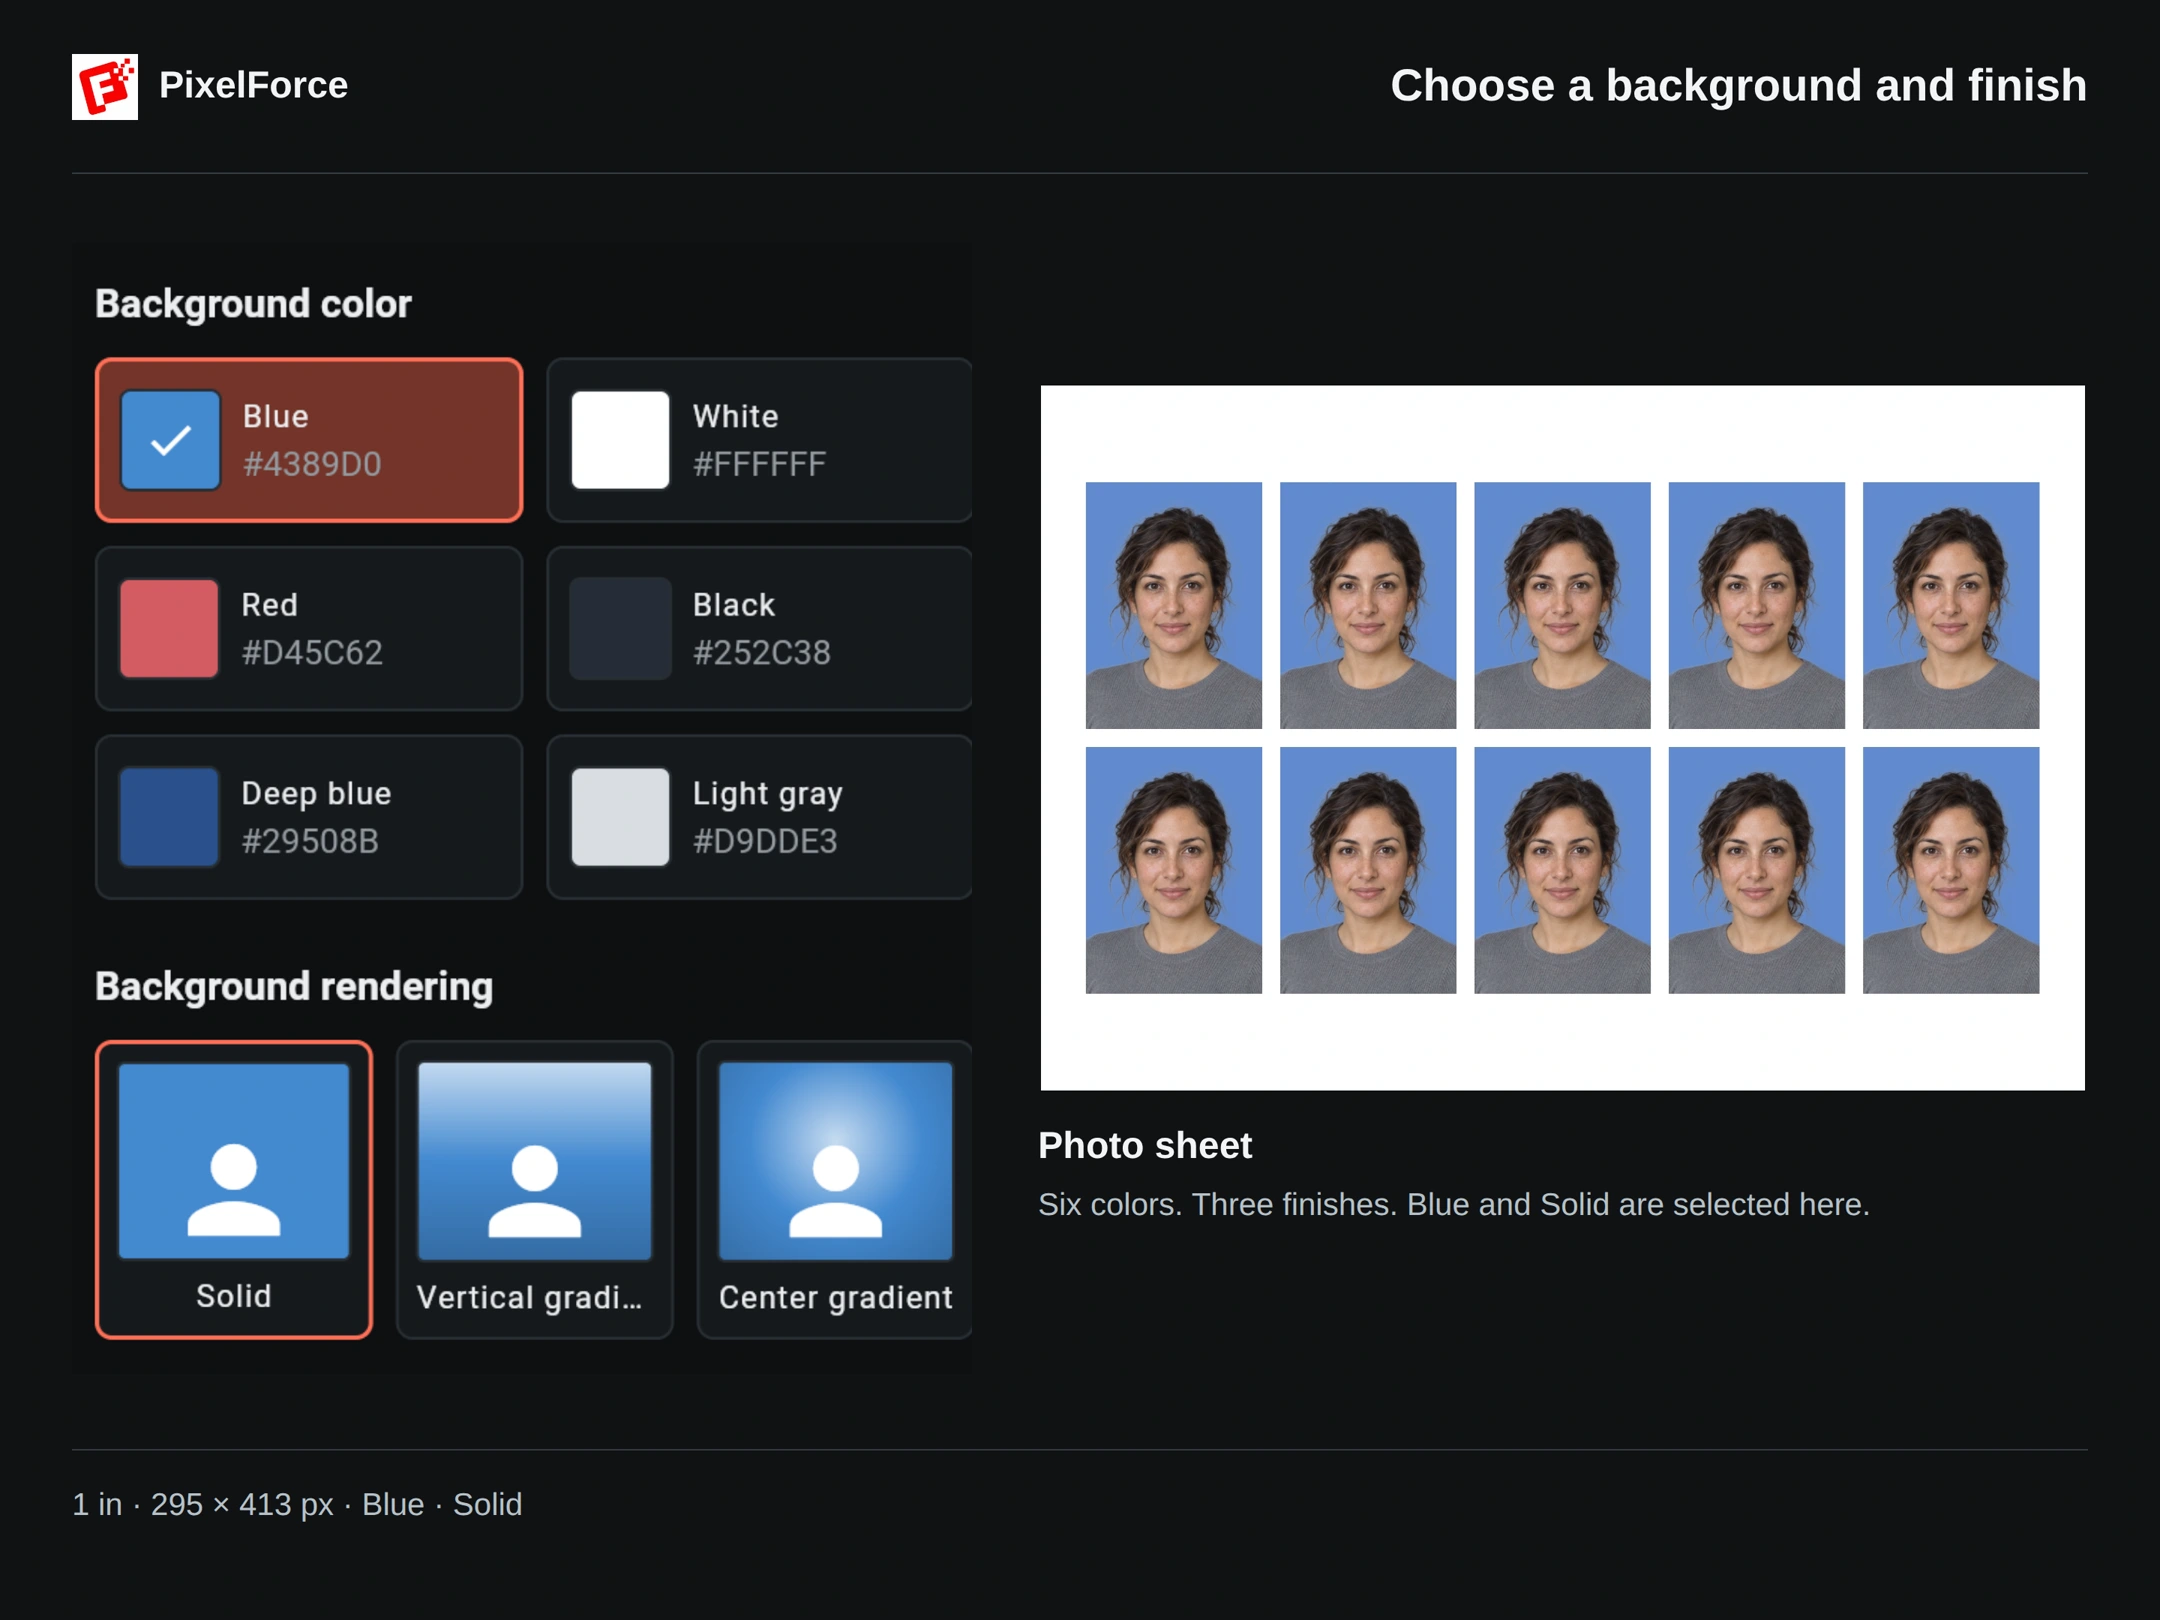
4. Generate, inspect and save
Review the displayed points cost, then select Run. Open Result and inspect the face, hairline, shoulders and background edges before saving the original result.
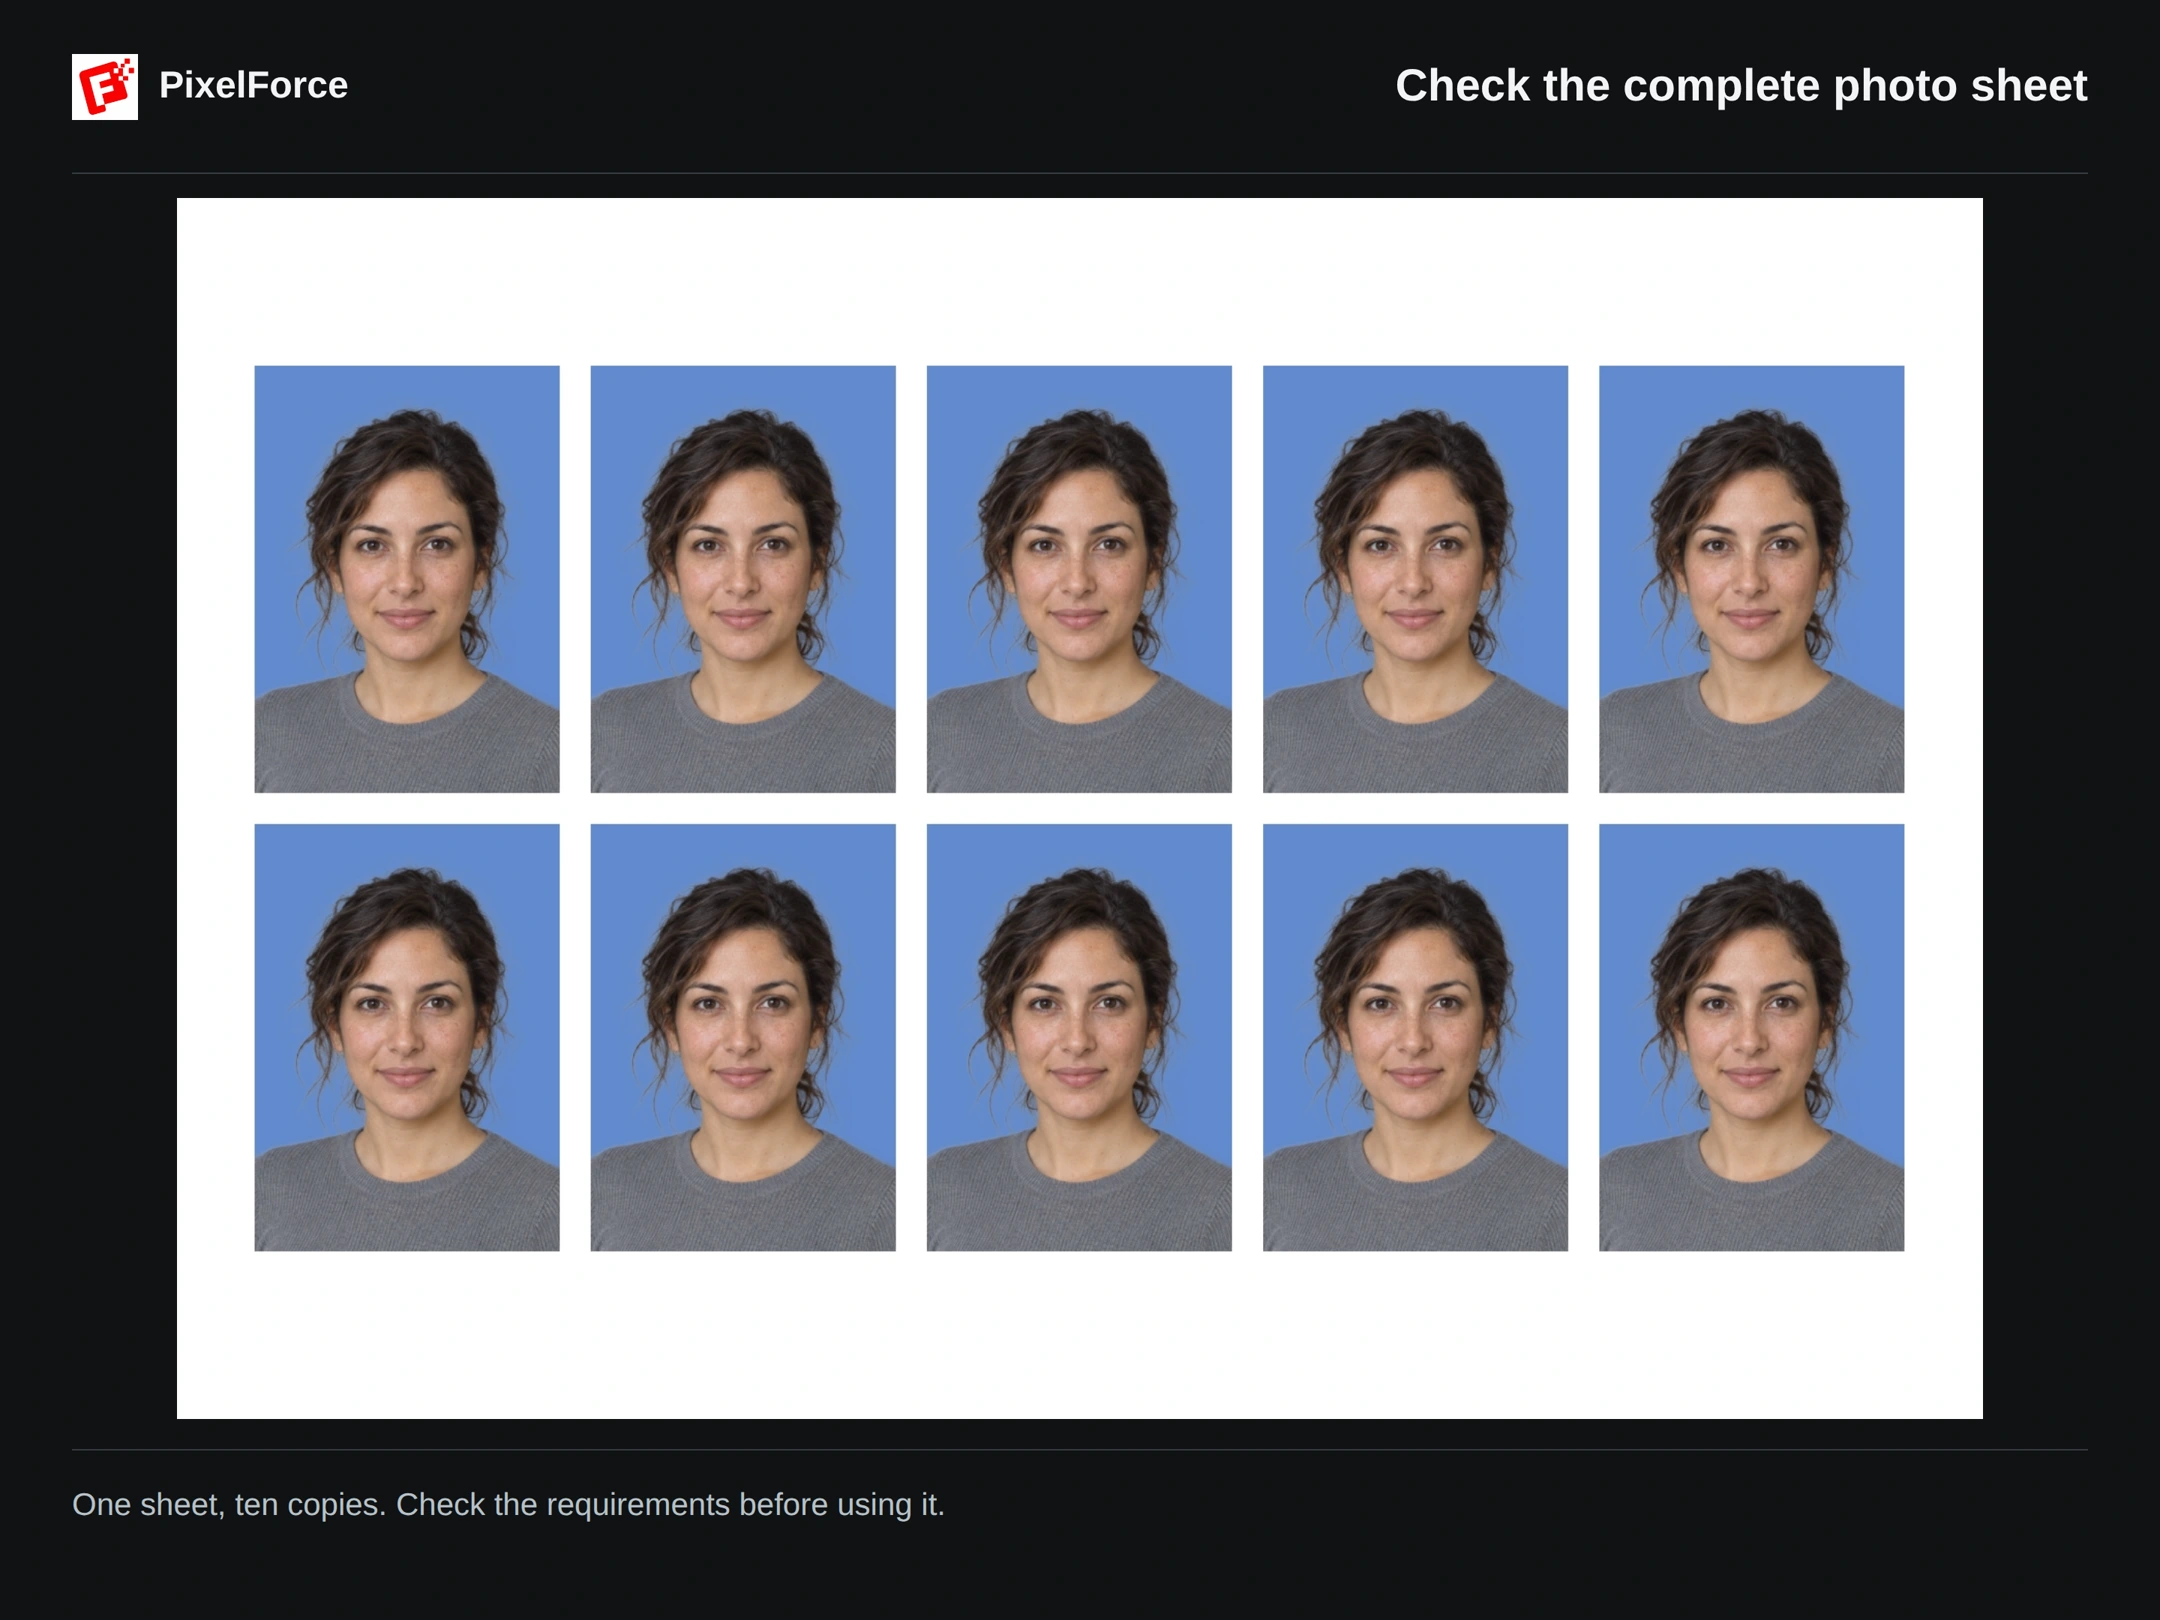
In this example, the complete sheet is 1746 × 1180 px; each of its ten photos is 295 × 413 px. Other presets may produce a different layout. The sheet is useful for printing multiple copies, but it is not a single-photo upload.
For a digital application, first check whether it requires one photo and a particular file format or size. Do not upload the whole sheet when one photo is required, and do not use a screenshot of the preview. For printing, confirm the actual printed dimensions with your print service; “fit to page” can change the size.
Check before you use it
- Compare the face with the source. Do not use a result that changes identifying features.
- Inspect hair and shoulder edges for missing detail or visible halos.
- Check head position, space above the head, expression and background against the receiving organization's rules.
- Confirm both the image dimensions and, when printing, the physical photo size.
To make another version, open the result in Library and choose Reuse settings. Change the size or background, then review the new cost before running again.
For free-form crops and other edits, see Image Editor. For saving and revisiting your work, see Results and library.
For creative portraits without document constraints, explore AI Portrait Studio.