Background Cutout
Keep the subject. Leave the background behind. Background Cutout isolates the main person or object so you can use it in a product listing, presentation or new design. Choose a transparent PNG for compositing, or a flat color for a finished image. This tool removes the existing background; it does not invent a new room or landscape.
Transparent or solid color?
- Transparent background: place the subject over another image or layout. Save as PNG to keep transparency.
- Background color: turn transparency off and choose a solid color. White works well for product listings; another color can match your design.
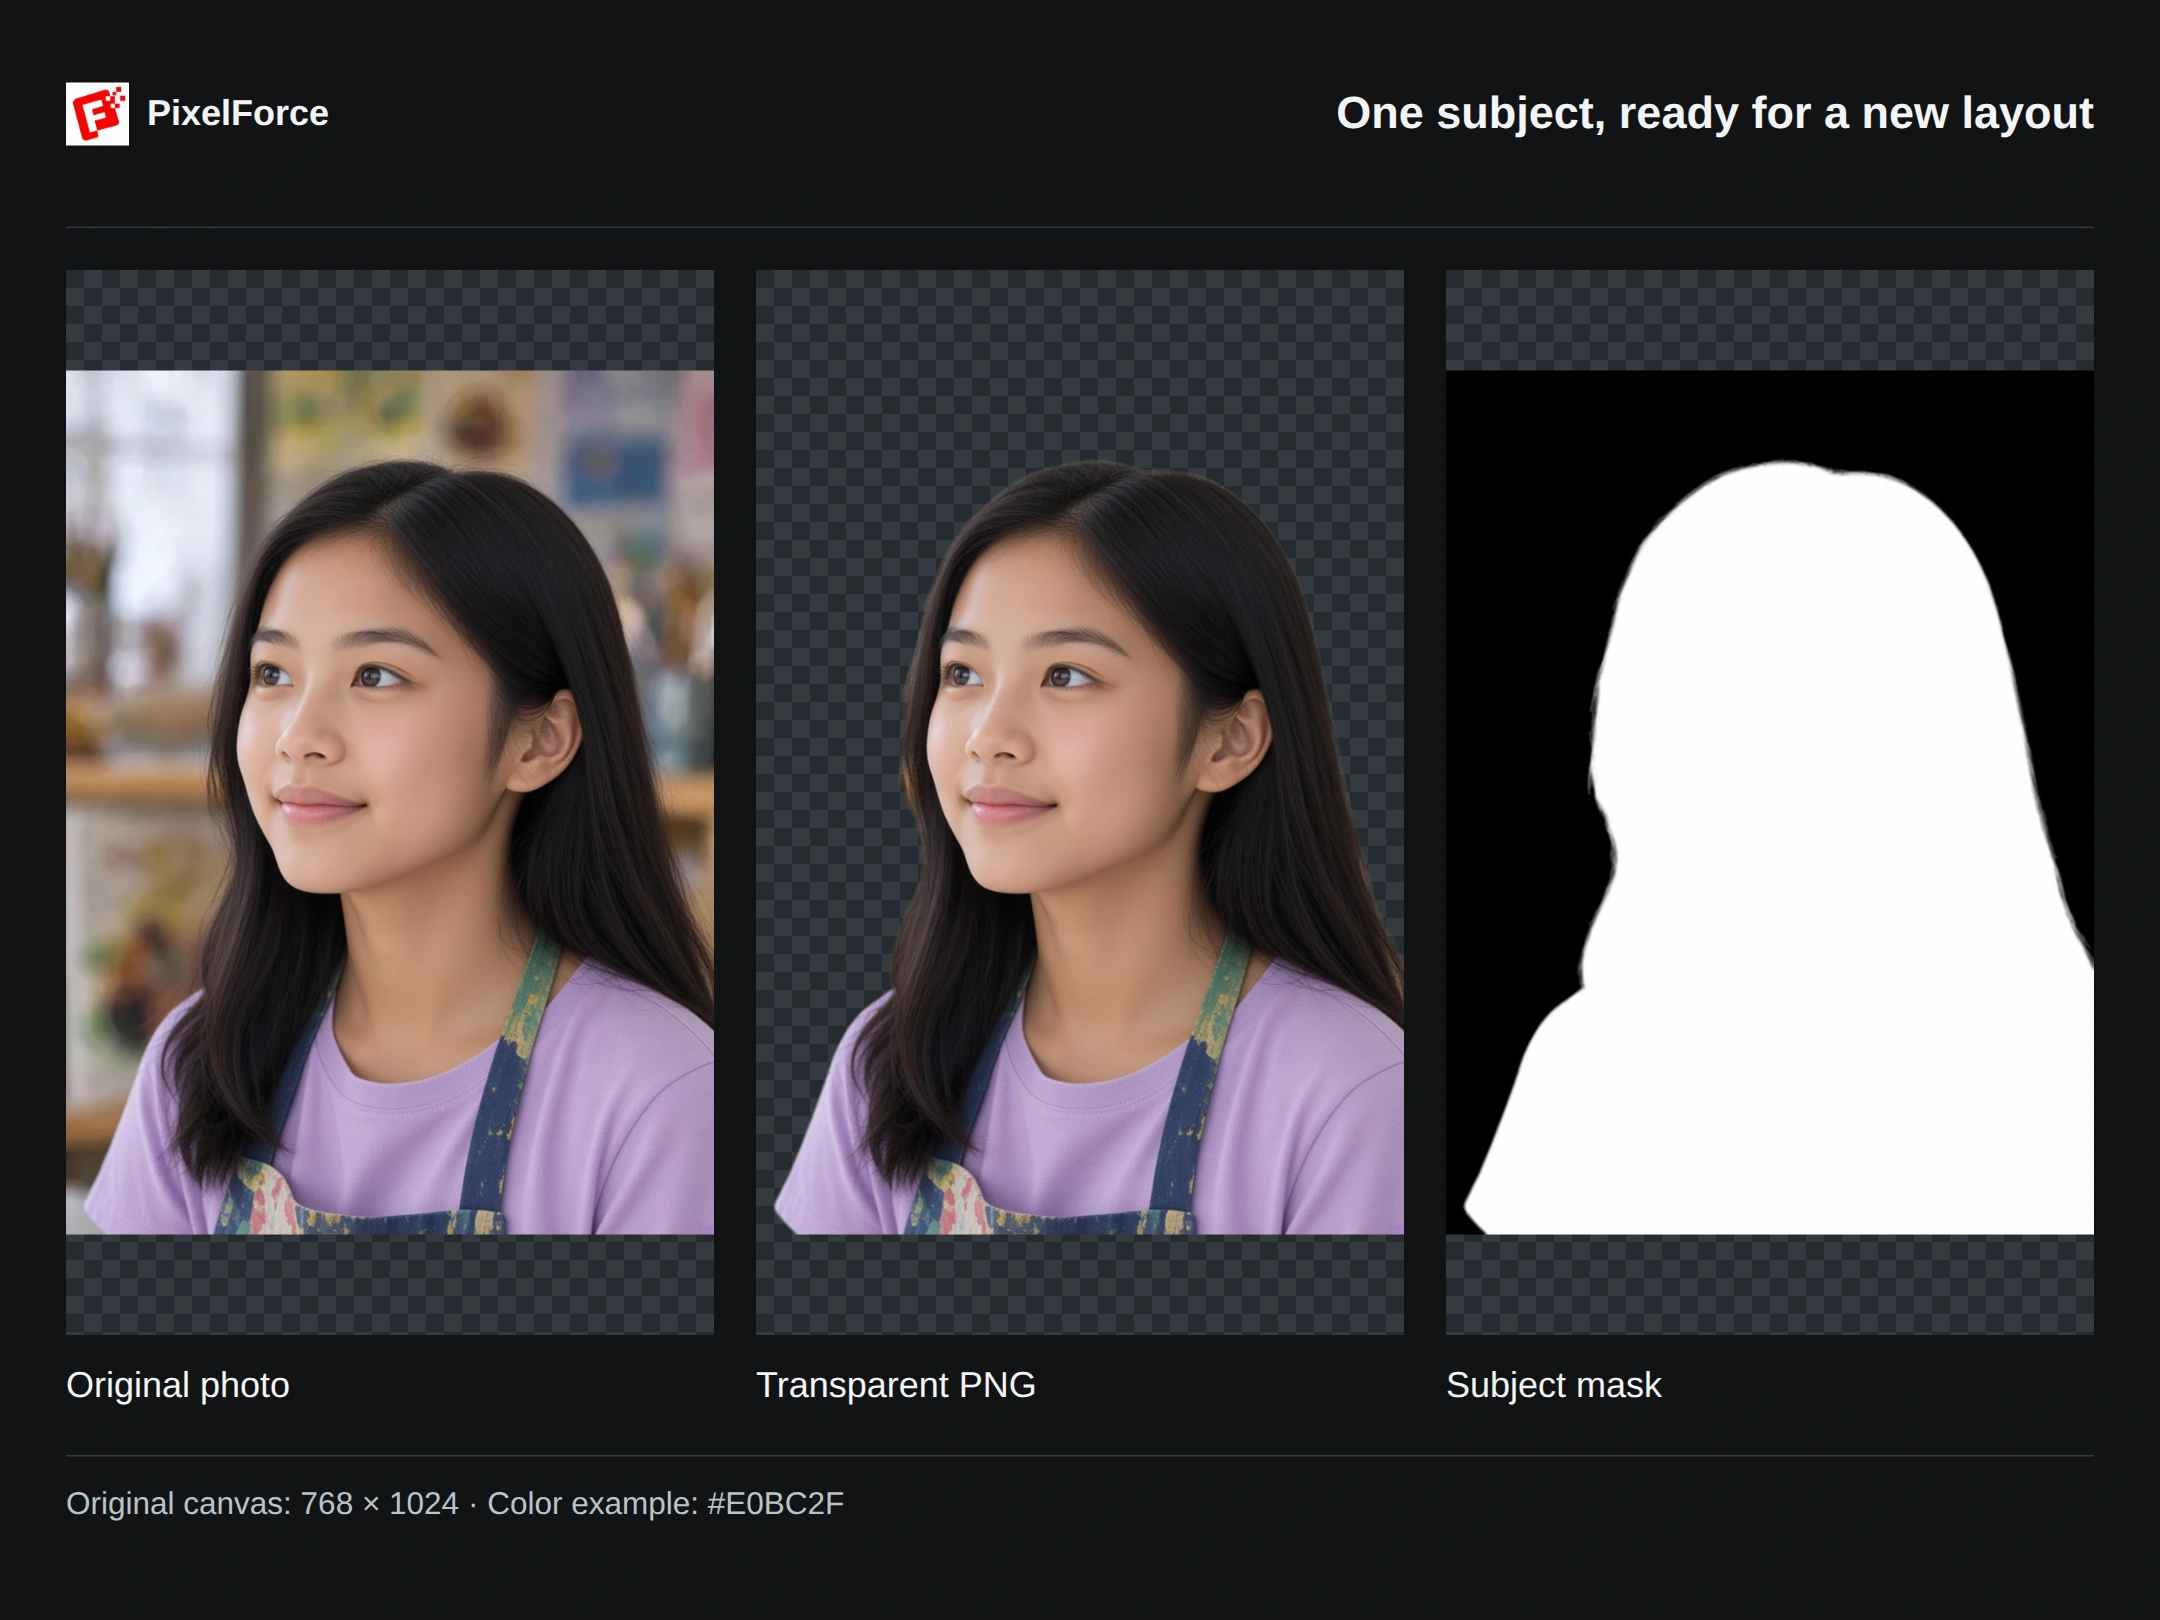
The examples below use the same original photo. The transparent result and the yellow-background result both retain the original 768 × 1024 canvas.
1. Add your photo
Open Background Cutout from Create or Explore and add the original image. On a phone, choose from your photo library, camera or files. Review the image-preparation window and confirm the complete frame.
Use a clear photo with the whole subject visible. Leave room around hair, sleeves, handles and other fine details. Anything cut off in the original cannot be recovered by removing its background.
2. Choose the background
Leave Transparent background on for a transparent result. To replace the background with a flat color, turn it off and set Background color. This example uses yellow, #E0BC2F. You do not need a text prompt.
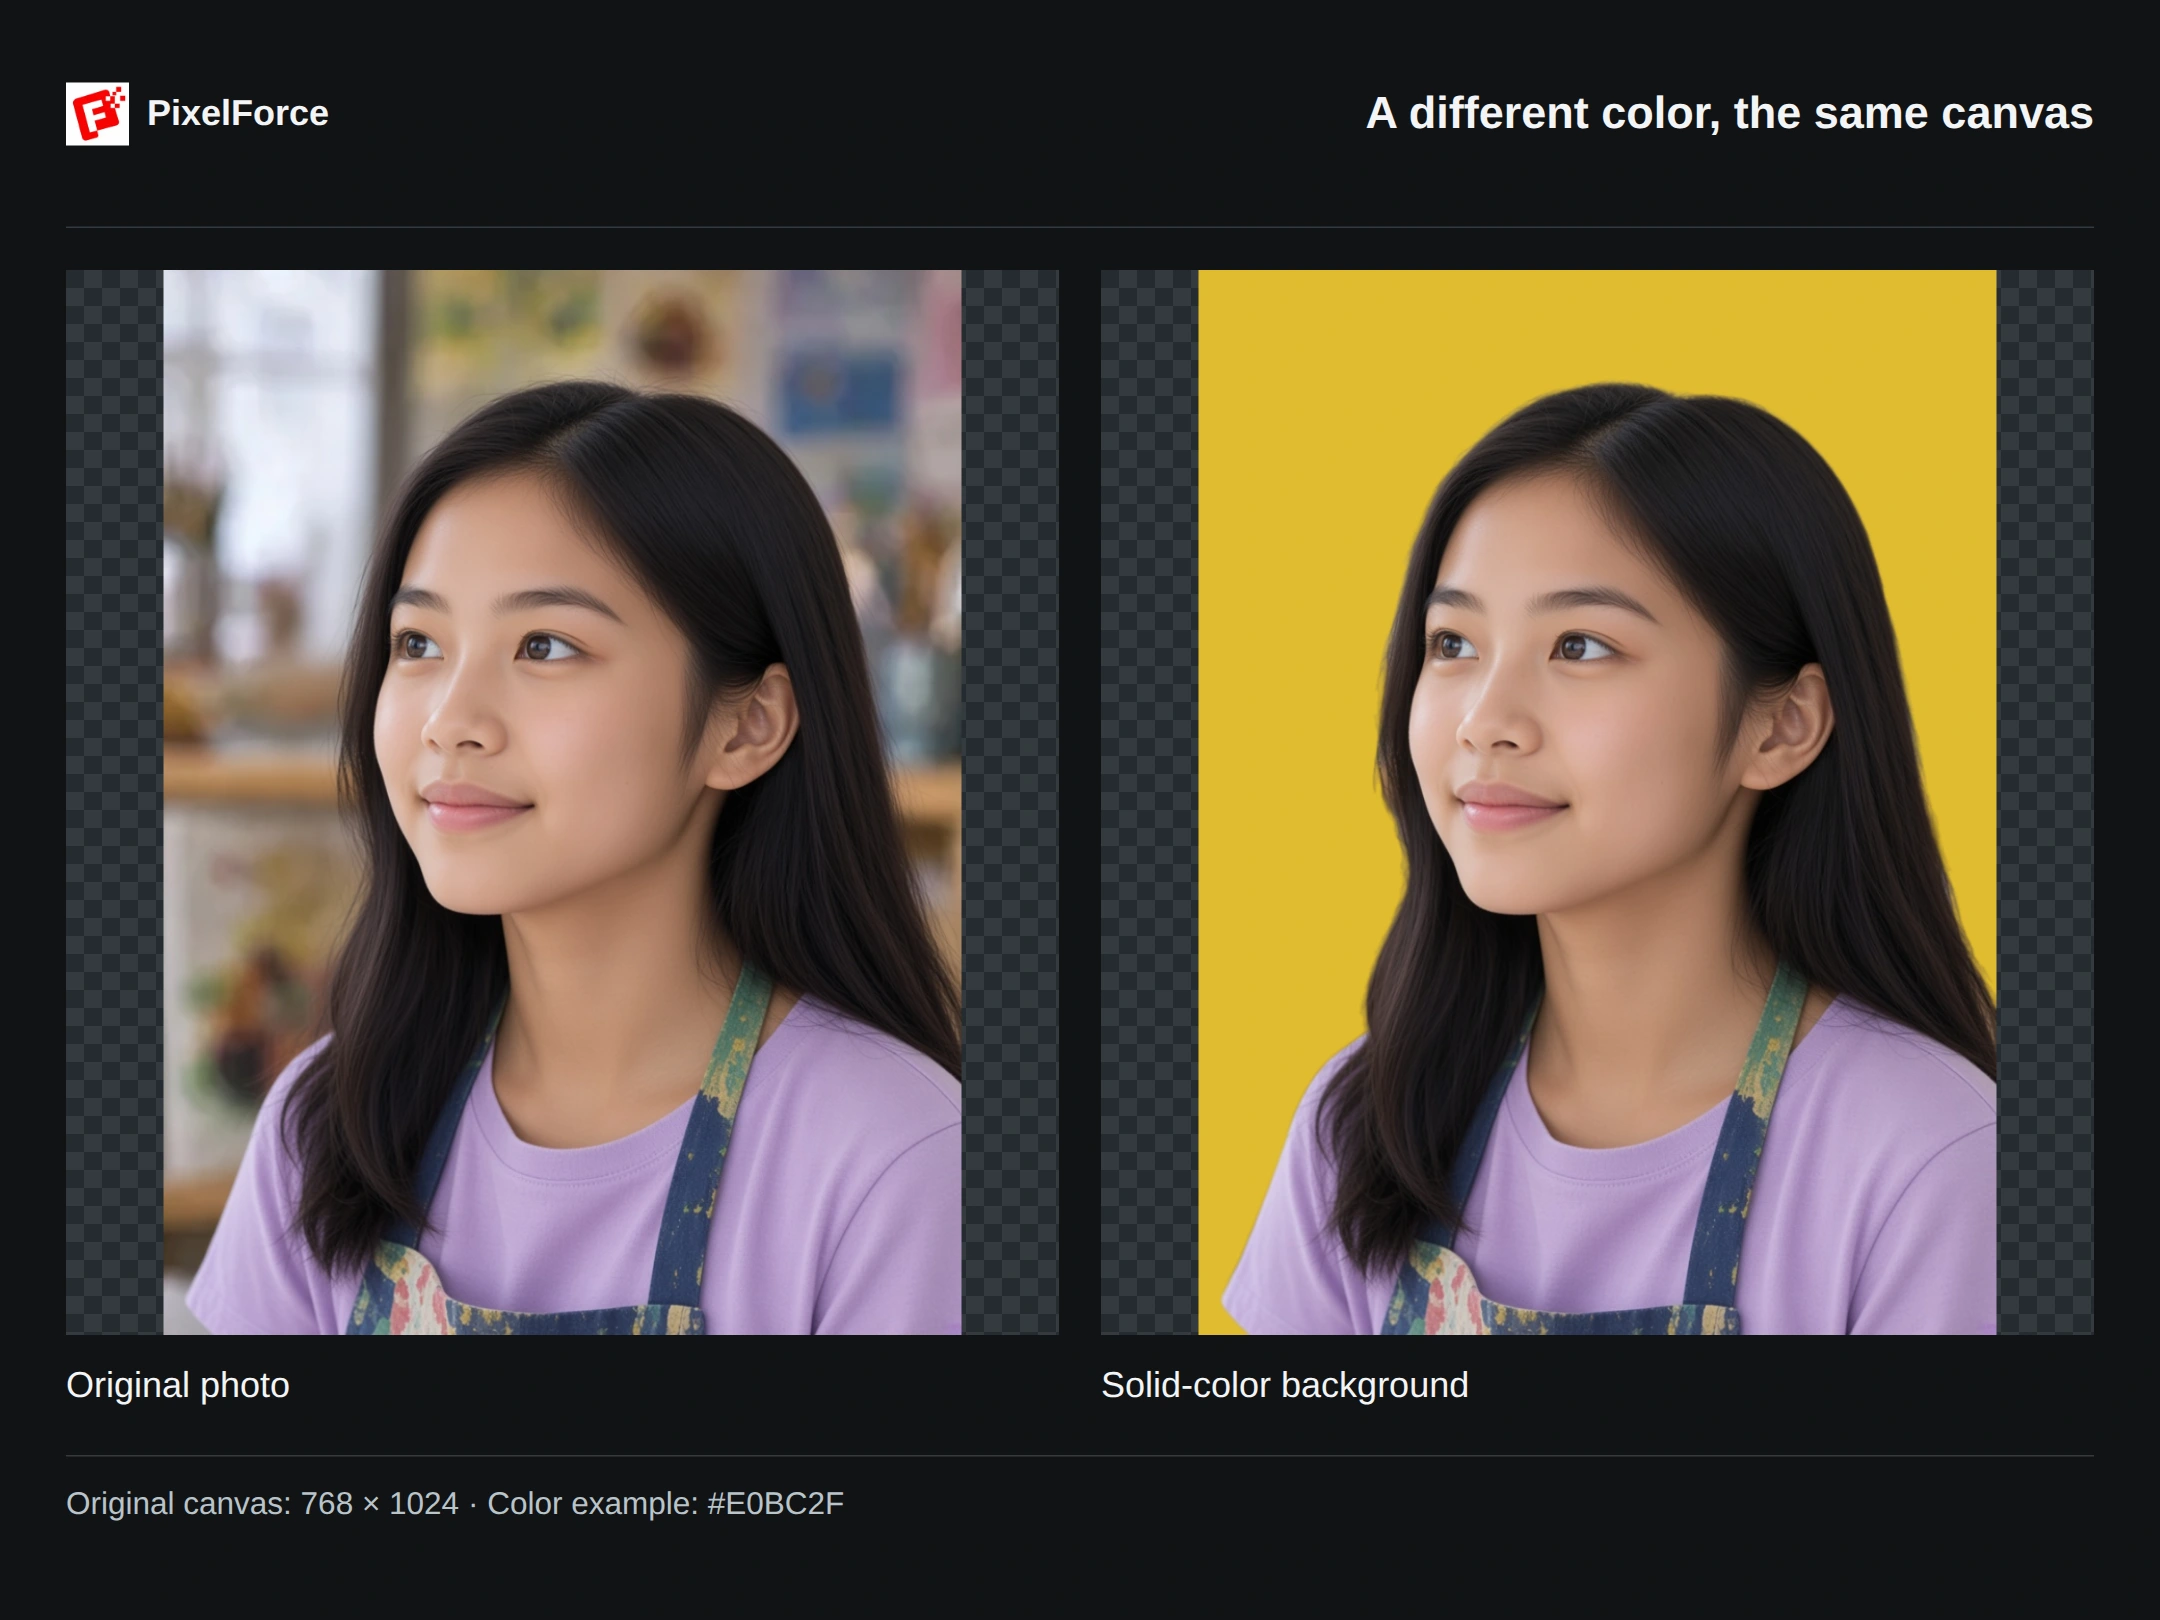
Changing the background color does not change the image dimensions. The result keeps the source image's width and height; cutout is not an upscaling tool. If you crop or resize the source in image preparation first, that confirmed image becomes the working canvas.
Review the points shown in the workspace, then choose Run. Available controls and points follow the current scene settings. On a phone, open Result when the task finishes.
3. Check the result and mask
Save the main image for your layout. The checkerboard indicates transparency; it is not printed into the PNG. Some photo viewers display transparent areas as white or black. JPEG cannot preserve transparency.
When Subject mask is available, open it to inspect the separate grayscale PNG. In a layer mask, white keeps the subject, black removes the background, and gray keeps soft, partially transparent edges. The mask comes from the cutout's own Alpha and shares its dimensions and alignment, rather than being generated independently.
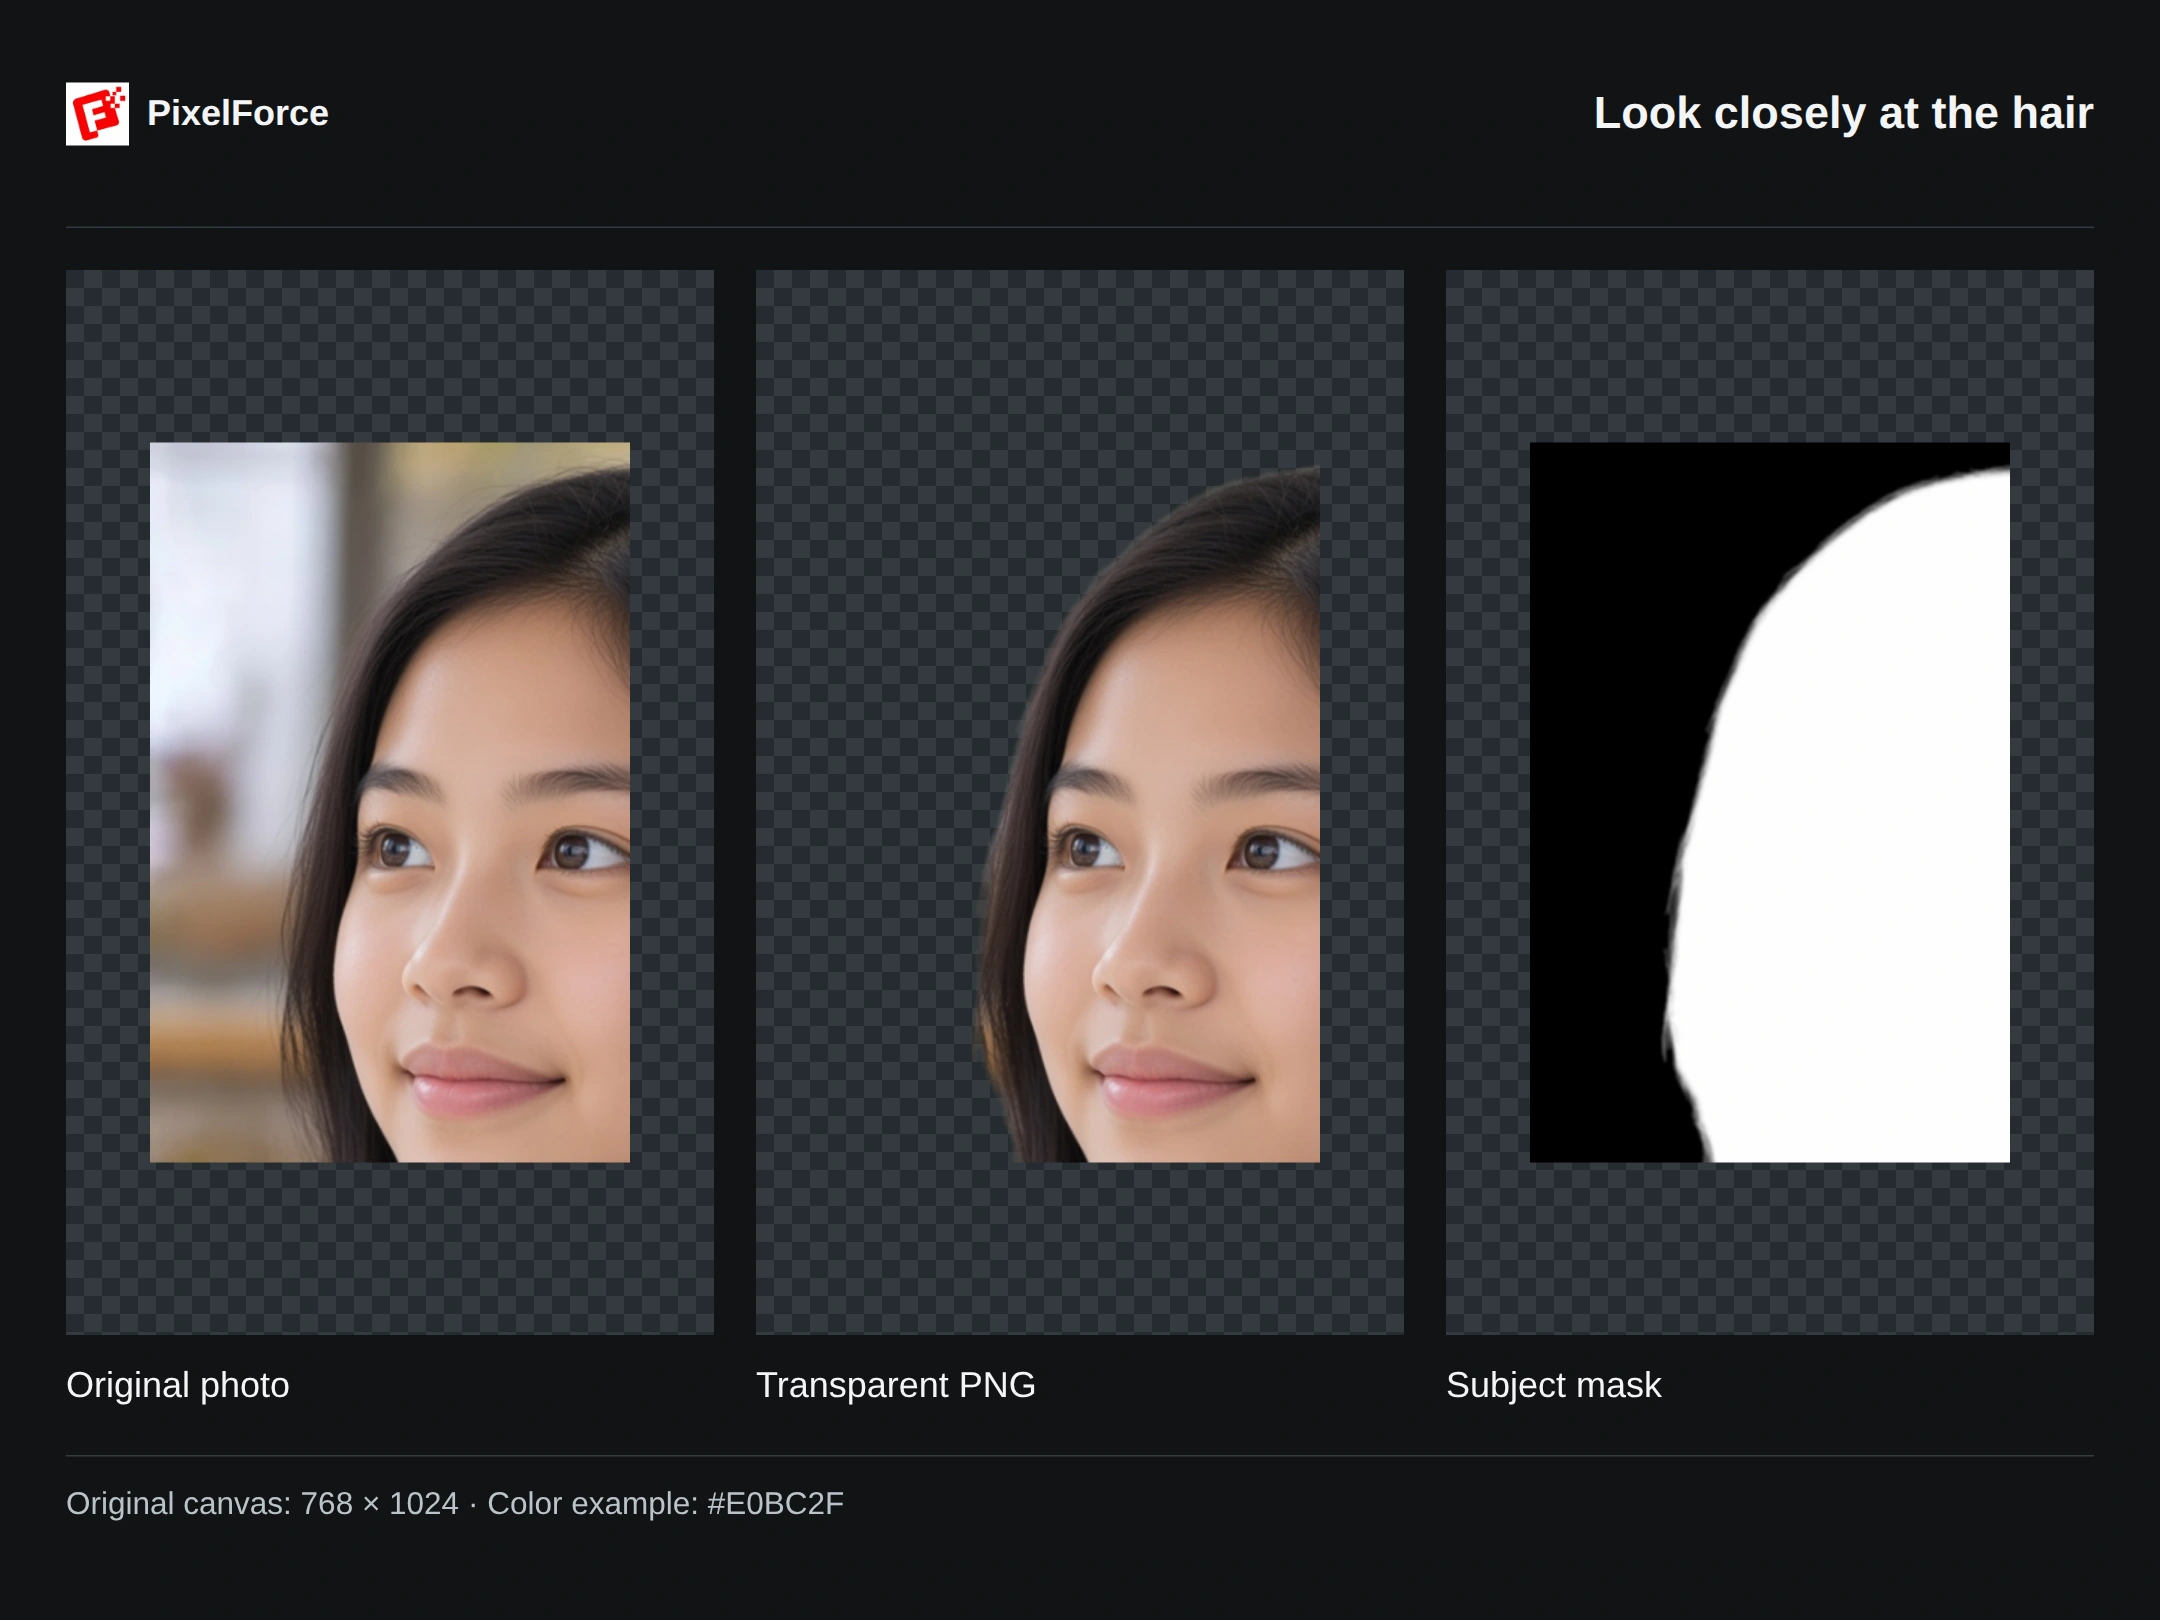
Fine hair needs more than a hard outline. Inspect loose strands and gaps at full size, as well as product text, color and shape. Blur, low contrast, glass and translucent materials can still produce imperfect edges. A solid-color provider result may not include a separate mask; a mask is not fabricated for an opaque image.
The primary image and any auxiliary mask count as one generated work, not two separately charged photos. Keep both files aligned when compositing; do not resize or crop only one.
Reuse the original, not the finished background
In Library, choose Reuse settings to restore the original input, transparency choice and saved color. Check the settings, change the color if needed, and run a new task when ready. Reuse alone does not start generation.
For a white preset, use White-background product photo. For a new photographic scene with integrated lighting, use Background redraw.